


How to prevent picture framing on a painted wall

If you’ve got a decor dilemma, we listen. And one setback novice painters can sometimes face is something known as ‘picture framing’. No, we’re not talking Picasso pondering how to present his latest masterpiece. We mean you guys, at home, taking a step back to admire your freshly painted walls and wondering, “why does it look like that?”.
What causes picture framing?
Picture framing occurs at the ‘cutting in’ step of painting your room, when a wall is painted with a roller but is brushed at the edges. Occasionally, the brushed areas appear darker, resembling the frame of a picture. To avoid this, take a look at our advice on how to cut in when painting. But more importantly: don’t panic.
Picture framing can be quite common with high quality, high pigment paints (especially darker colours) and is usually down to a difference in paint applied when using a brush versus a roller. It can also be due to the different layering of angles, causing different lighting and miniature shadows (which doesn’t show with lighter colours). Make sure you’re up to scratch on how to use different decorating tools (because we all know there’s nothing worse than a workman blaming their tools).
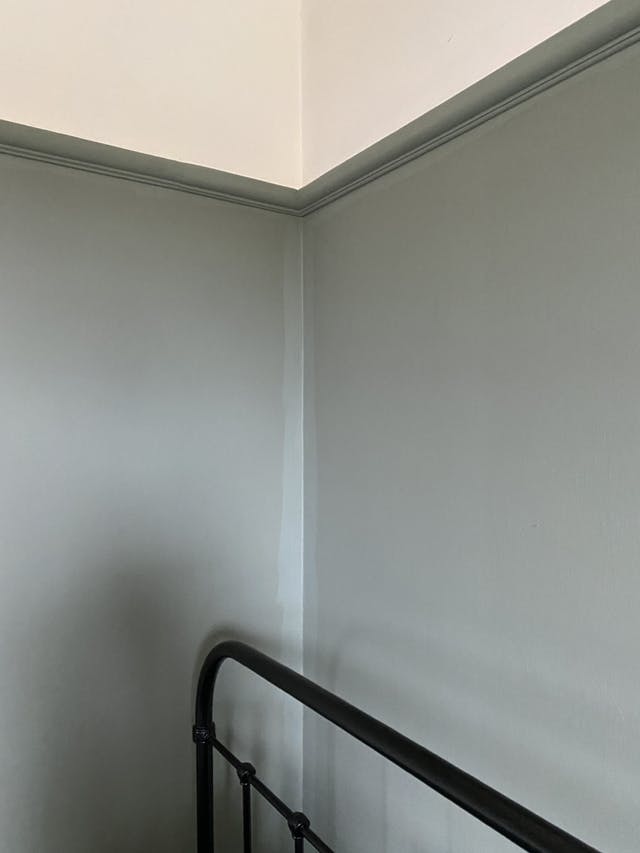
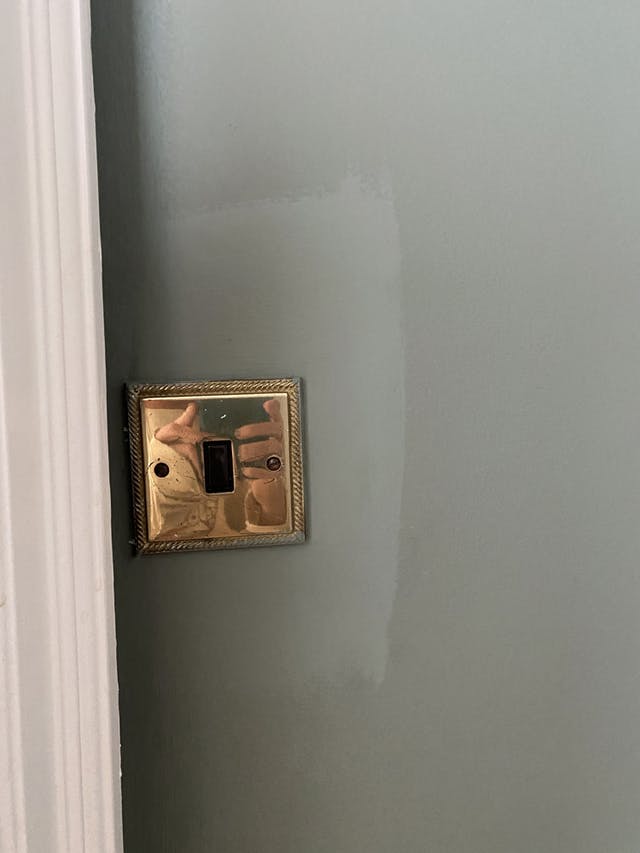
How to prevent picture framing
Let’s talk about how to avoid it. Our team of expert decorators recommends:
- Brushing the final coat all over the wall to even out the film thickness or cut in smaller areas with the brush.
- Make sure you follow rollering while the brushed areas are still wet to allow the paint to blend. Essentially, maintaining a ‘wet edge’ at all times.
- Taking your roller as close to the cut in corners as you can while painting the wall—always whilst the paint remains wet.
- If you like, you can change your roller sleeve to a shorter pile.
How to fix picture framing
And, in the event the worst happens, fear not. It’s totally fixable. If your wall looks like it’s succumbed to the picture framing problem, then perseverance is key. Keep going, trying to match the overlapping sections as closely as possible by applying additional coats of paint to the cut in areas.
As always, the best route to success is with proper prep, so before you begin, check out our guide on how to prep a room for painting. Now all you need is the paint!