


An easy DIY on how to reupholster a headboard

We were so inspired by @tash_lickcolourpro’s DIY upholstered headboard that we thought we’d share her guide on how to make your own. No, you don’t have to be a master upholster to achieve it, you just need to be a bit of a dab hand with a staple gun.
It’s a great way to tie a look together using fabrics you’ve already got. You can even turn a pair of old curtains into a headboard (or pair of cushions to match). If you’d like to have a go at this DIY guide for yourself, here’s how.
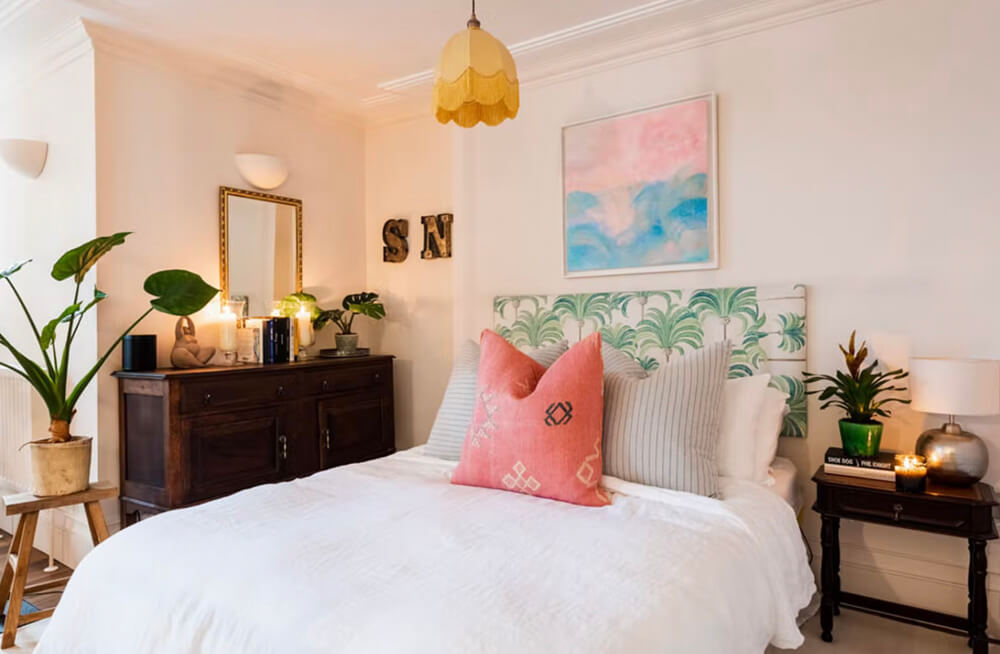
Step 1: ensure you’ve got the right tools for the job
You’ll need:
- Fabric
- Measuring tape
- Fabric scissors
- Hammer and tacks
- Tack lifter
- Staple gun and staples
- Staple remover
Step 2: measure your headboard
Step 3: cut your fabric
Cut your fabric to the size of your headboard, allowing an extra 5 cms each side (so 10 cms total) for stapling.
Step 4: secure your fabric in place
Starting in the top centre of your headboard, using your hammer and tacks, secure your fabric in place and work your way out. You want your fabric to be snug, but not too tight.
Step 5: staple
Once your fabric is in place and you’re happy with how it looks, grab your staple gun and begin securing it to your headboard, starting from the middle of the top of your headboard, removing your tacks as you go using your tack lifter.
Step 6: cut in
As you get to the corners of your headboard, you’ll need to ‘cut in’ to your fabric using a Y shape, to avoid excess fabric and prevent it from bulging. Roll and fold over your cut edges to ensure a neat finish and secure using your staple gun. Don’t worry if you make any mistakes whilst stapling, you can take them out with a staple remover.
Step 7: trim any excess fabric
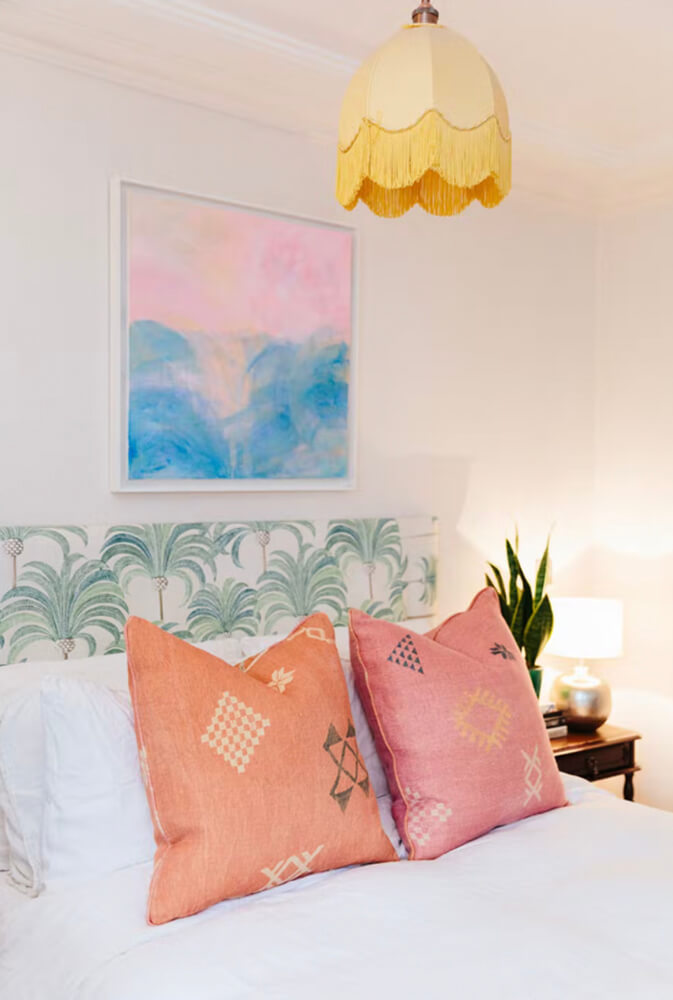
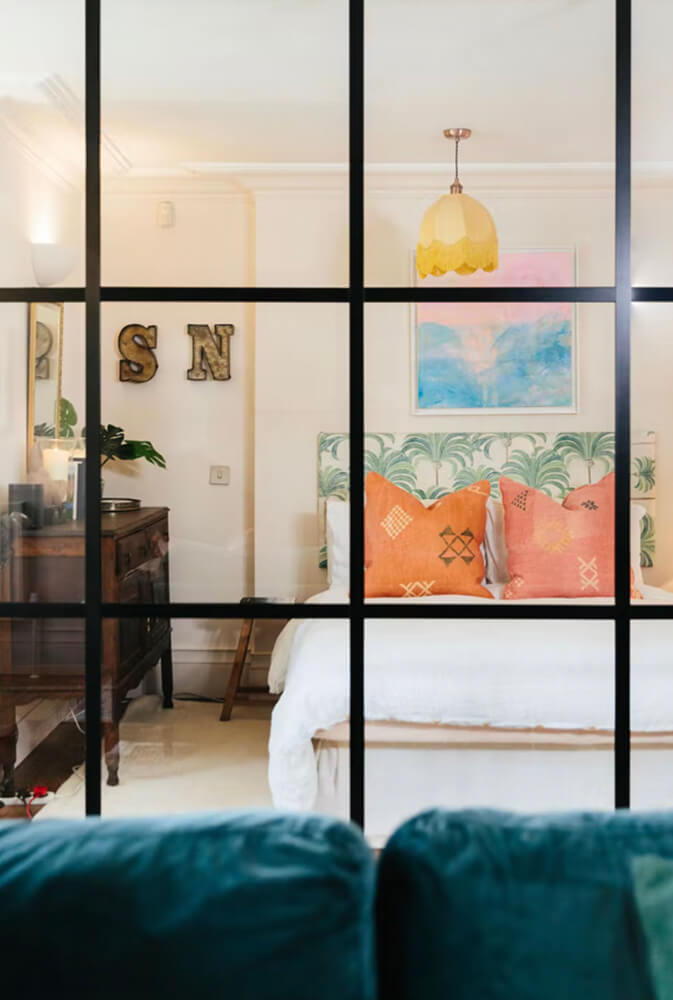
And that’s it! You’ve got yourself a brand-new looking headboard. Now, you just need to re-affix it to your bed or your wall to complete the job. If you liked this idea, take a look at these 9 statement headboard ideas for your bedroom for some more bedroom decor inspiration.