


How to create bedroom wall panelling on an £80 budget

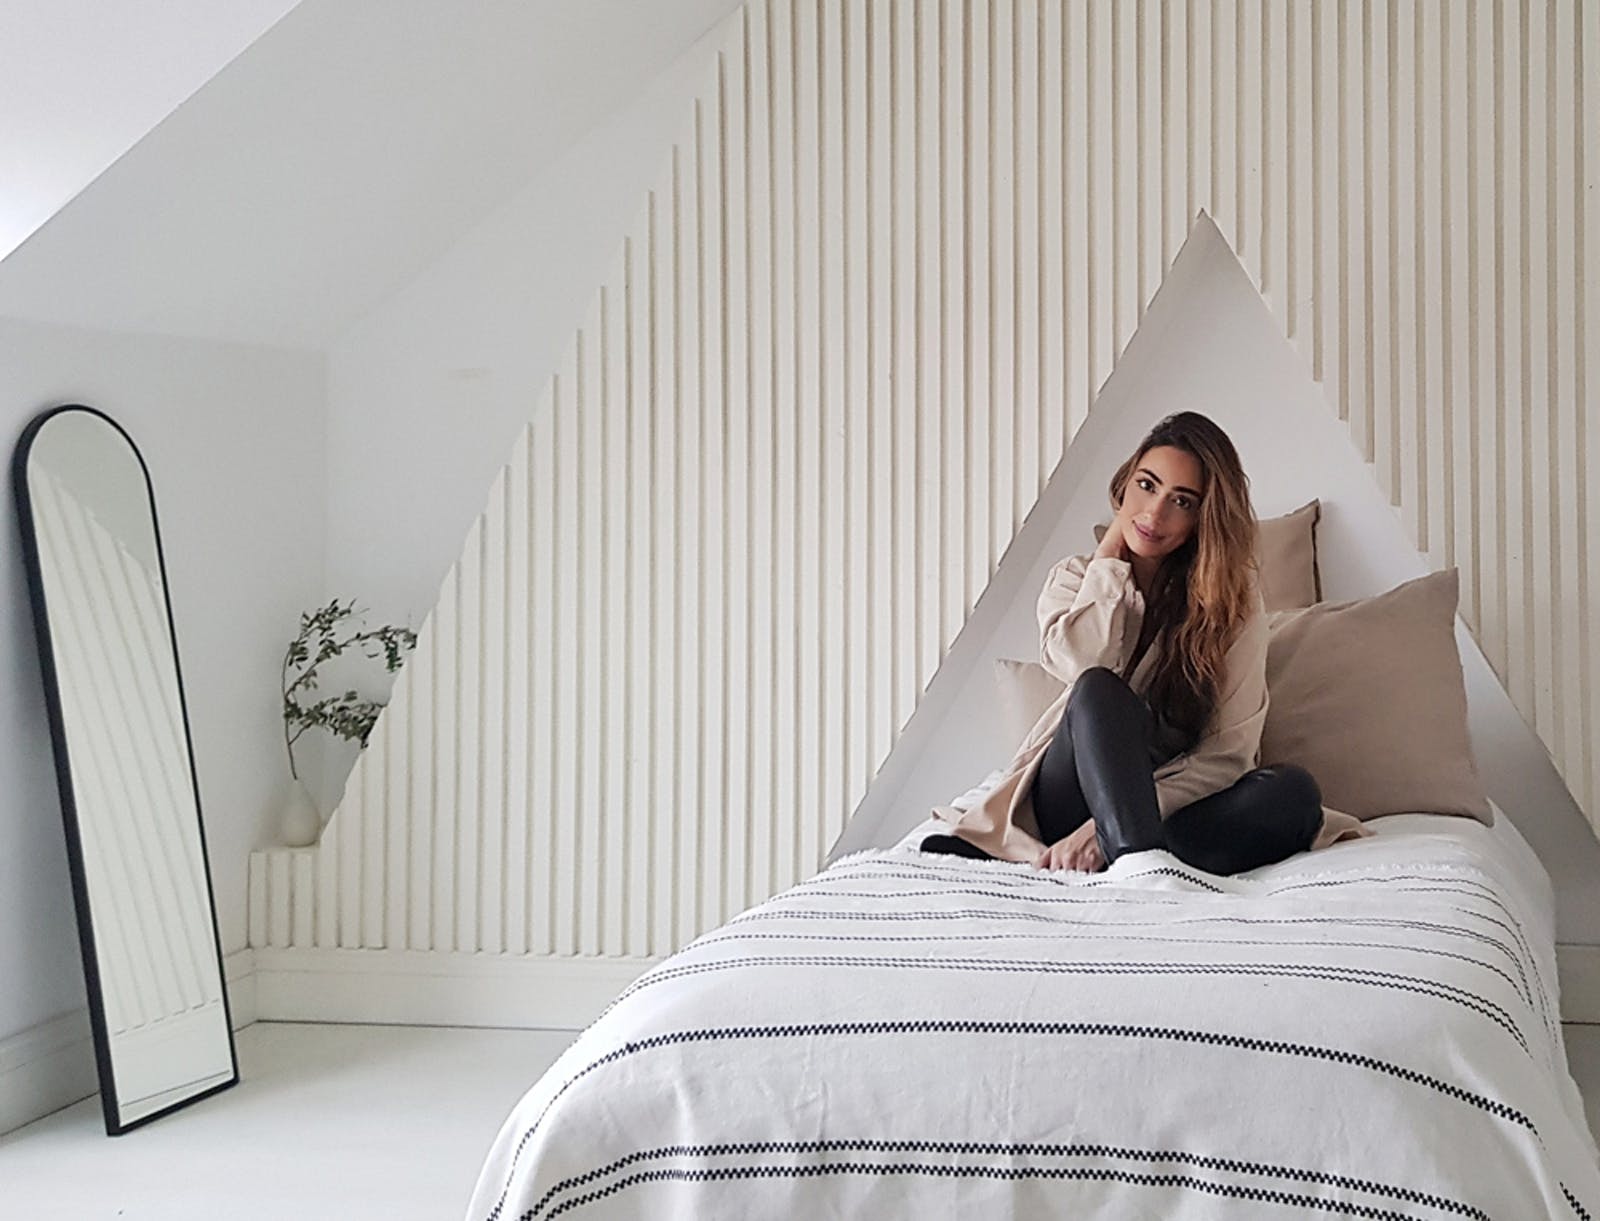
Esin (@edwardian_love) is 37 years old and lives with her husband, two sons and their ragdoll cat, Bleu. She works as a photographer by day, and admits to a serious DIY addiction in her spare time. Their beautiful, monochrome home is a 1900s Edwardian, semi-detached property based in Hertfordshire – where they have lived for two years now.
Only recently, Esin revealed a full transformation of her eldest son’s loft-space bedroom, and has kindly offered to share her design process with us, too…
Before the makeover
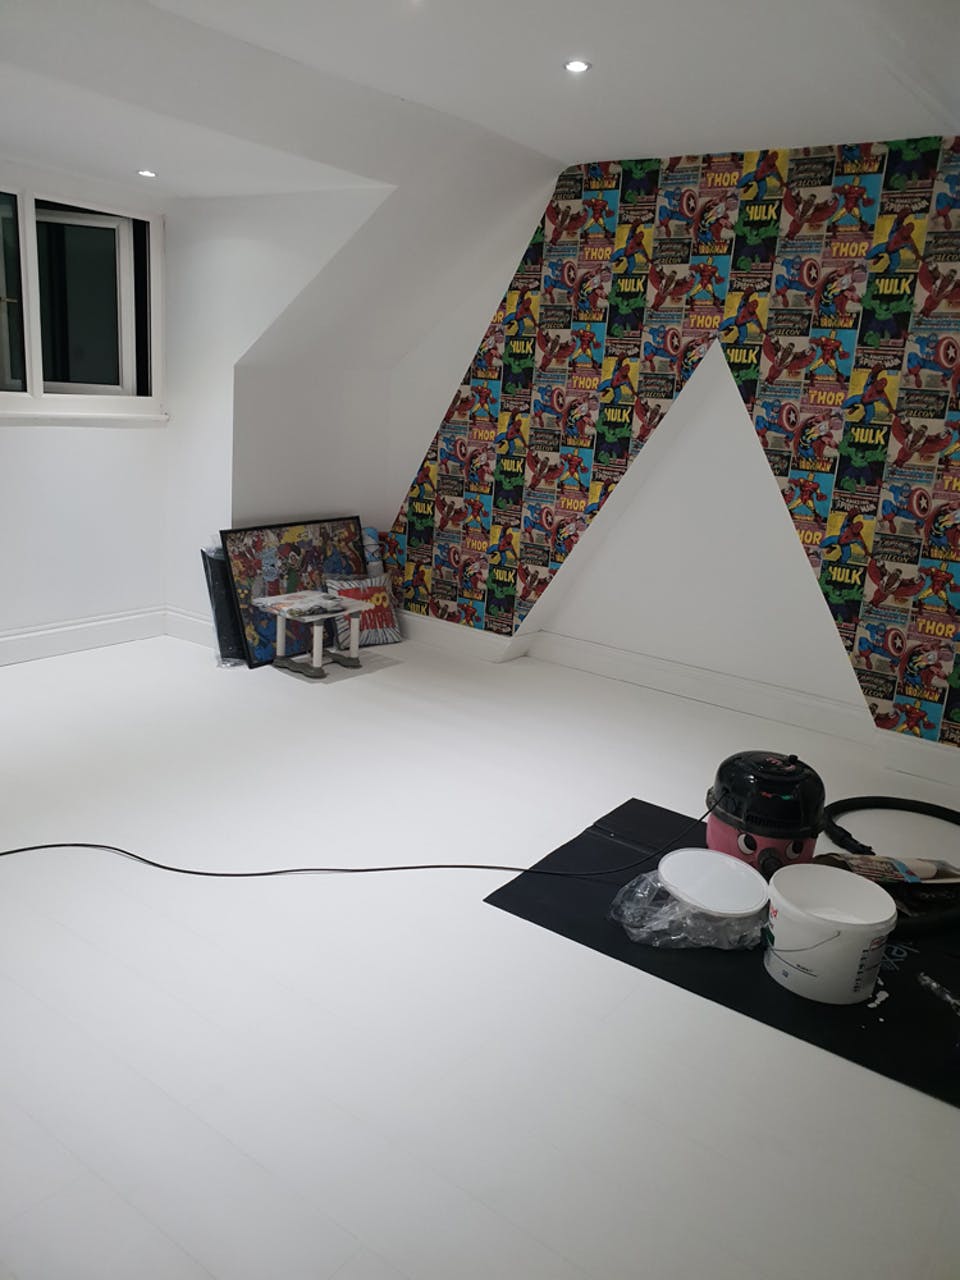
Her eldest son’s bedroom had initially been decorated with a superhero theme, featuring lots of Marvel characters and primary colours. He had outgrown the theme, and was looking for something a little more ‘grown-up’.
“He had started to complain that his bedroom wasn't grown up enough for him anymore, and had stopped playing with his superhero toys over a year ago. As much as it broke my heart, as a mum, to know that my eldest son was growing up fast, I knew it was time for a change”.
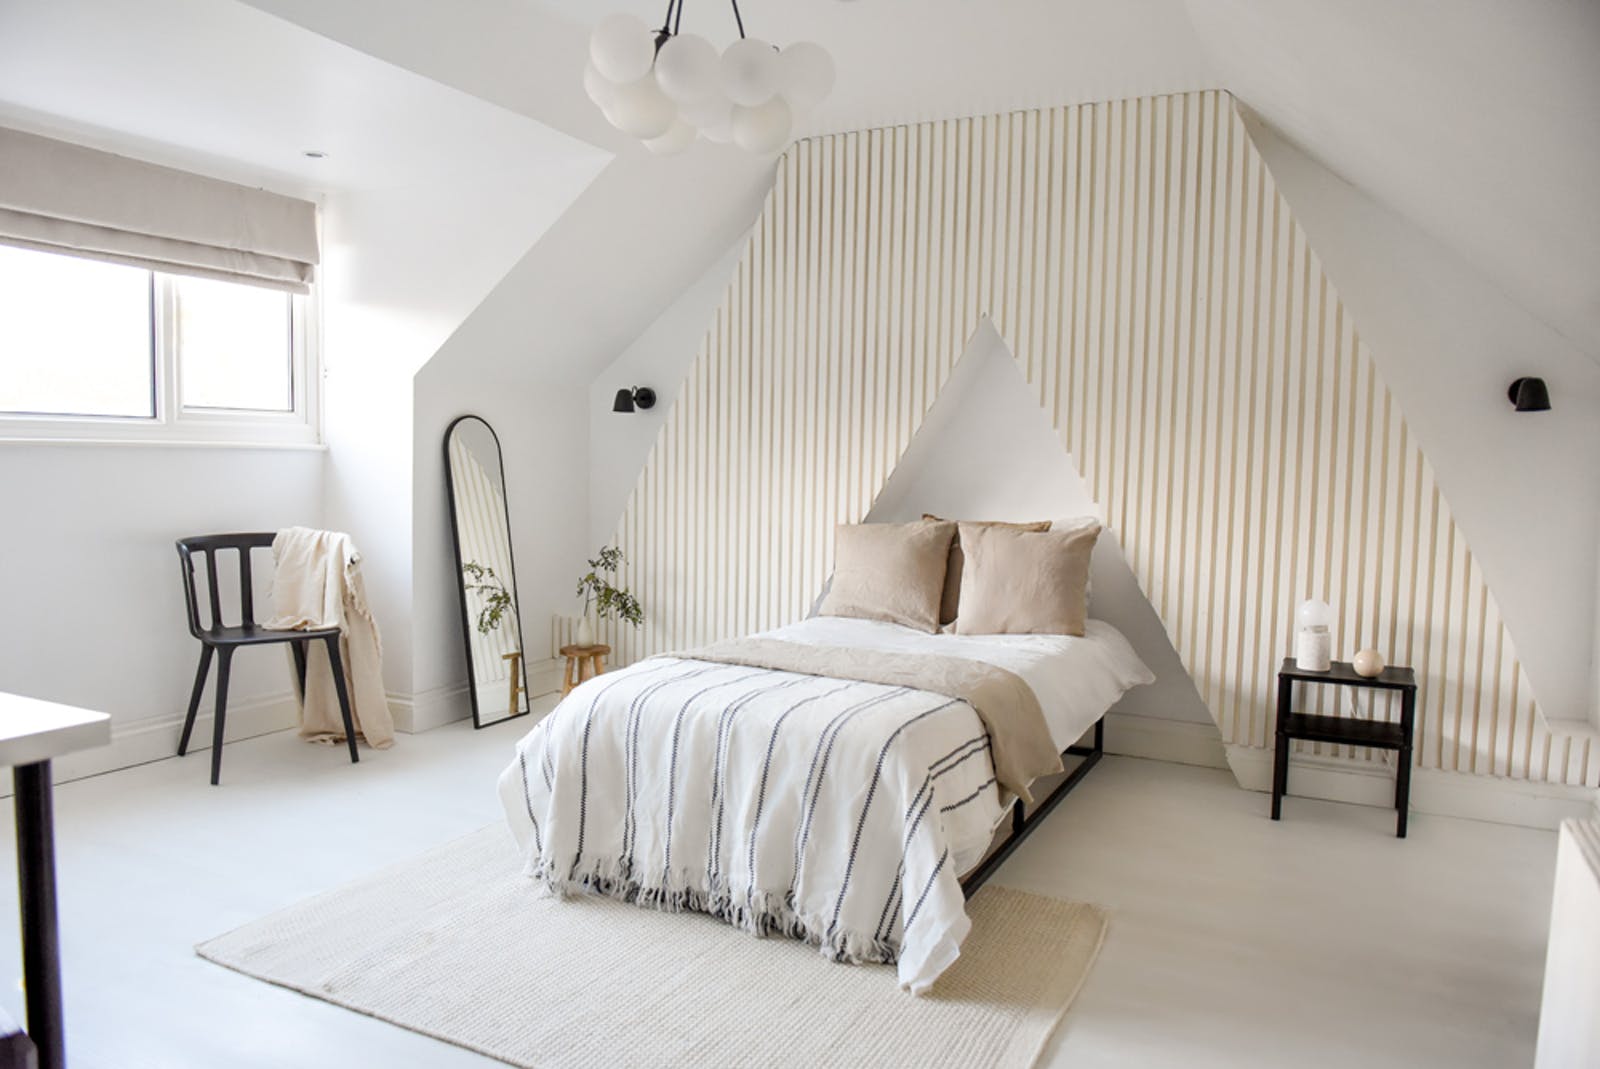
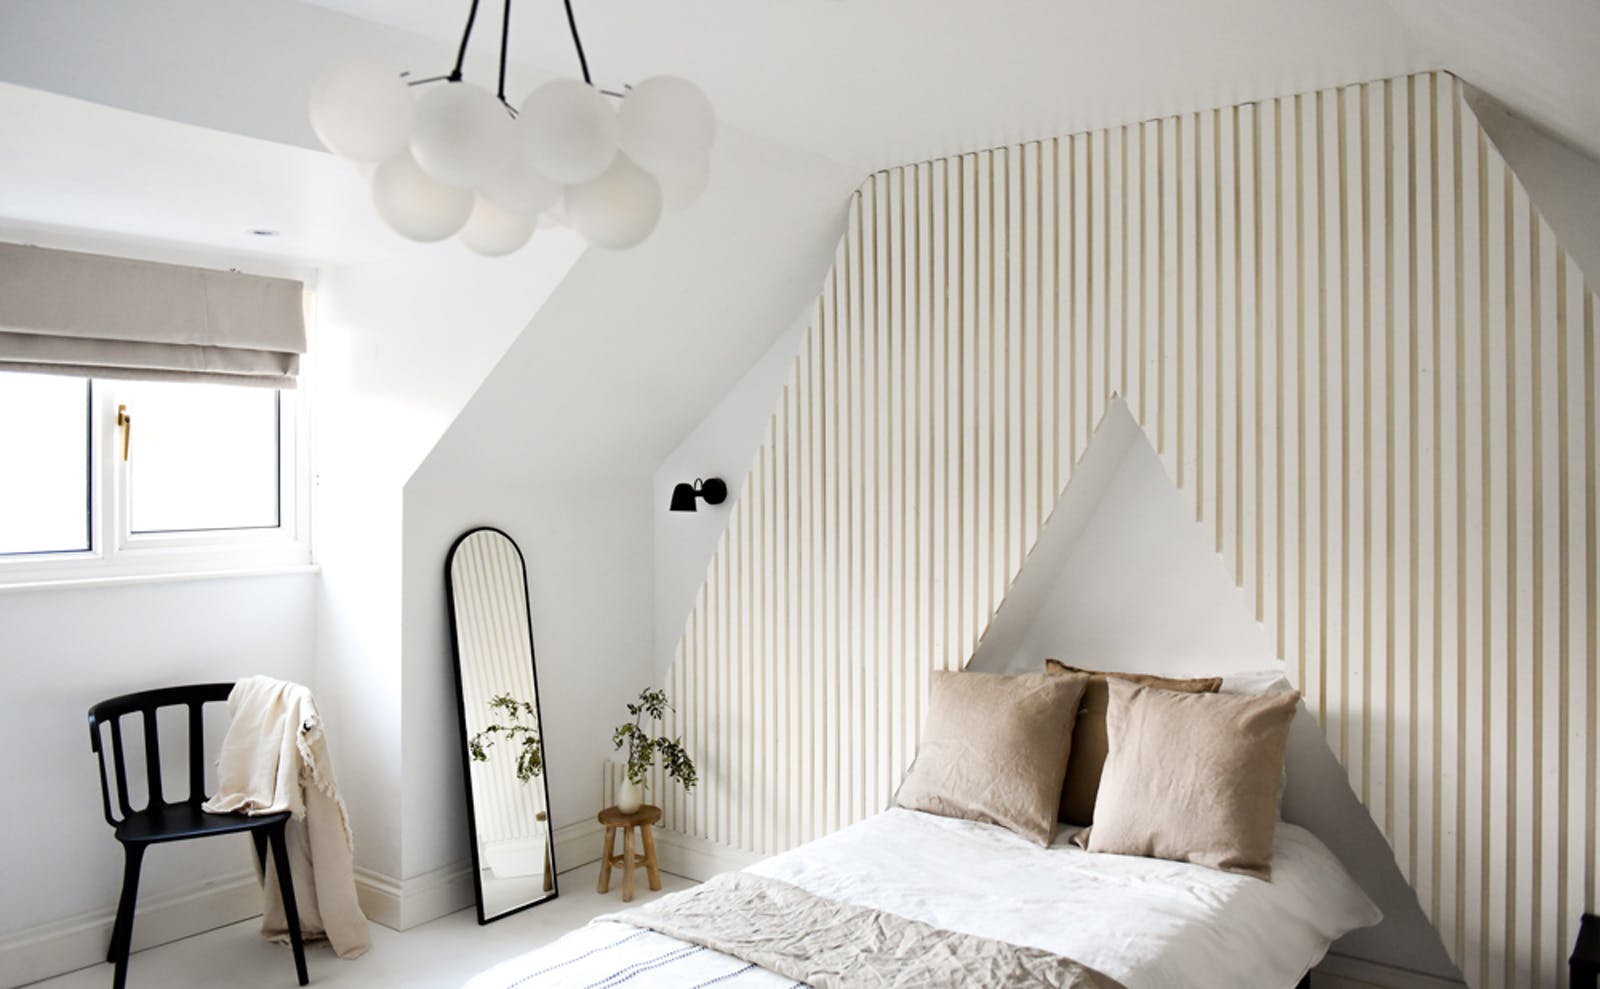
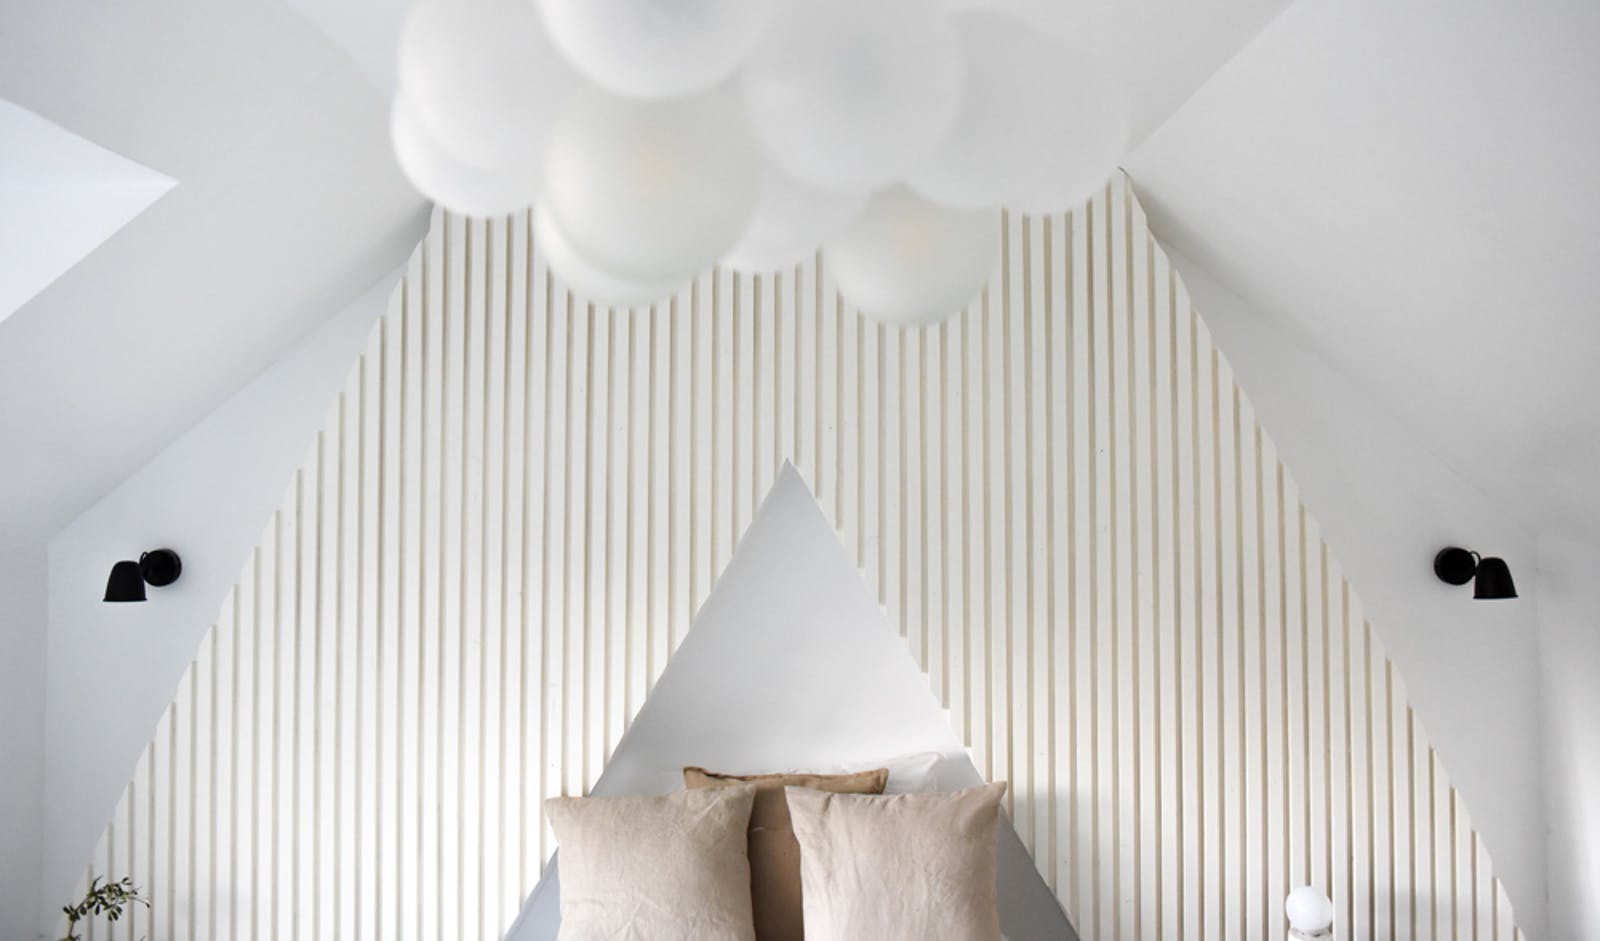
The focus of the room has always been the chimney breast and triangular statement wall, which runs straight up into the roof. Previously covered in a superhero poster wallpaper, Esin knew she wanted to create another feature wall, which could provide an oversized bedhead and backdrop to the space. With it being the first thing you see as you enter the bedroom, she wanted it to have the ‘wow’ factor.
Planning & inspiration
When searching for inspiration, Esin didn’t need to go far. In previous DIY projects, she had used wooden battens to create a 3D effect against the walls in her kitchen and cinema room – and her son had always loved these designs.
“He really wanted to remove the wallpaper, so we knew that would be the first thing we did. He’d suggested a ‘wood effect’ on the walls, like we had downstairs – so, I would say my son was definitely my inspiration for this project!”
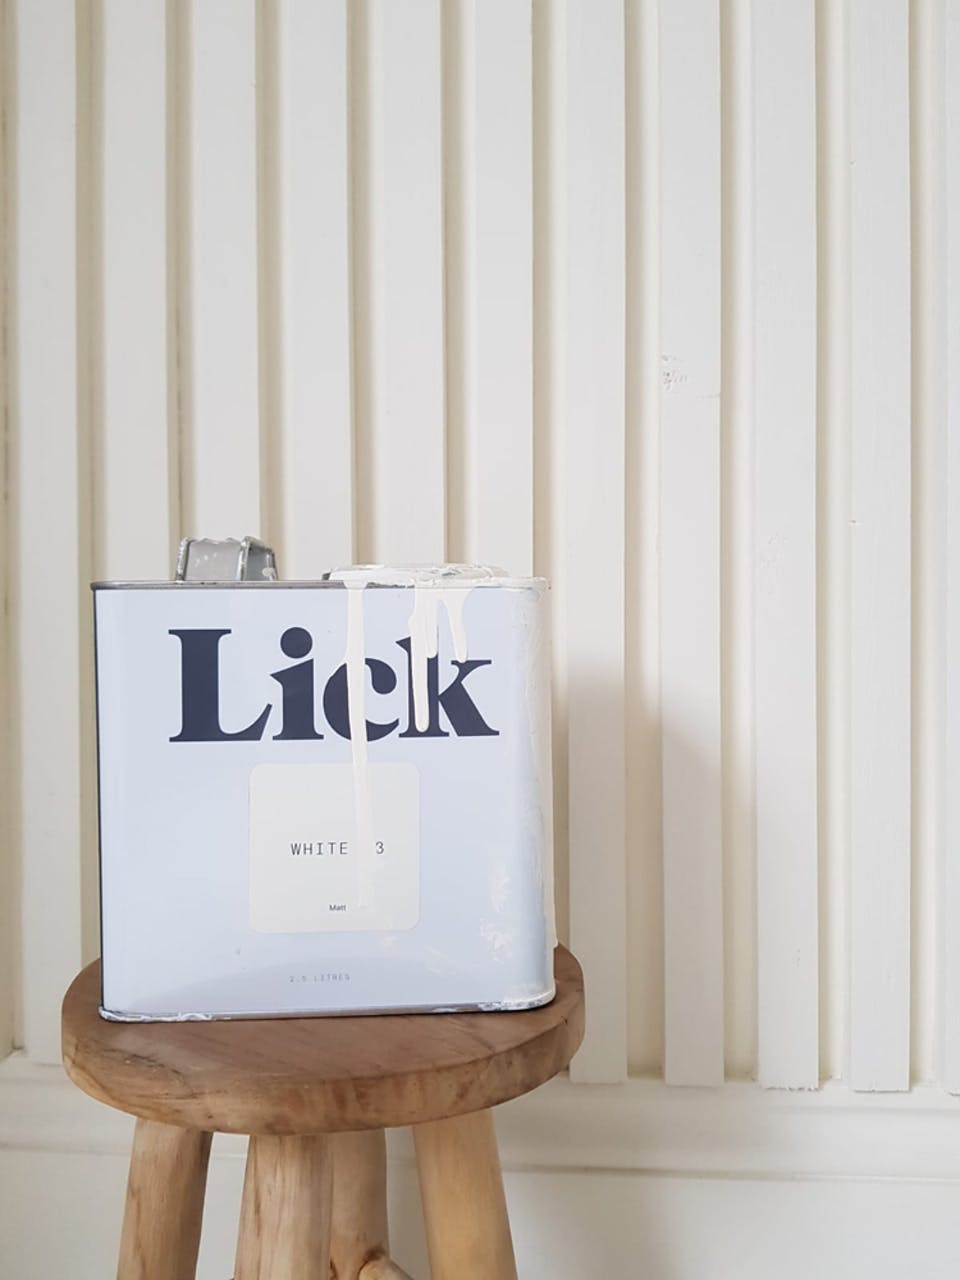
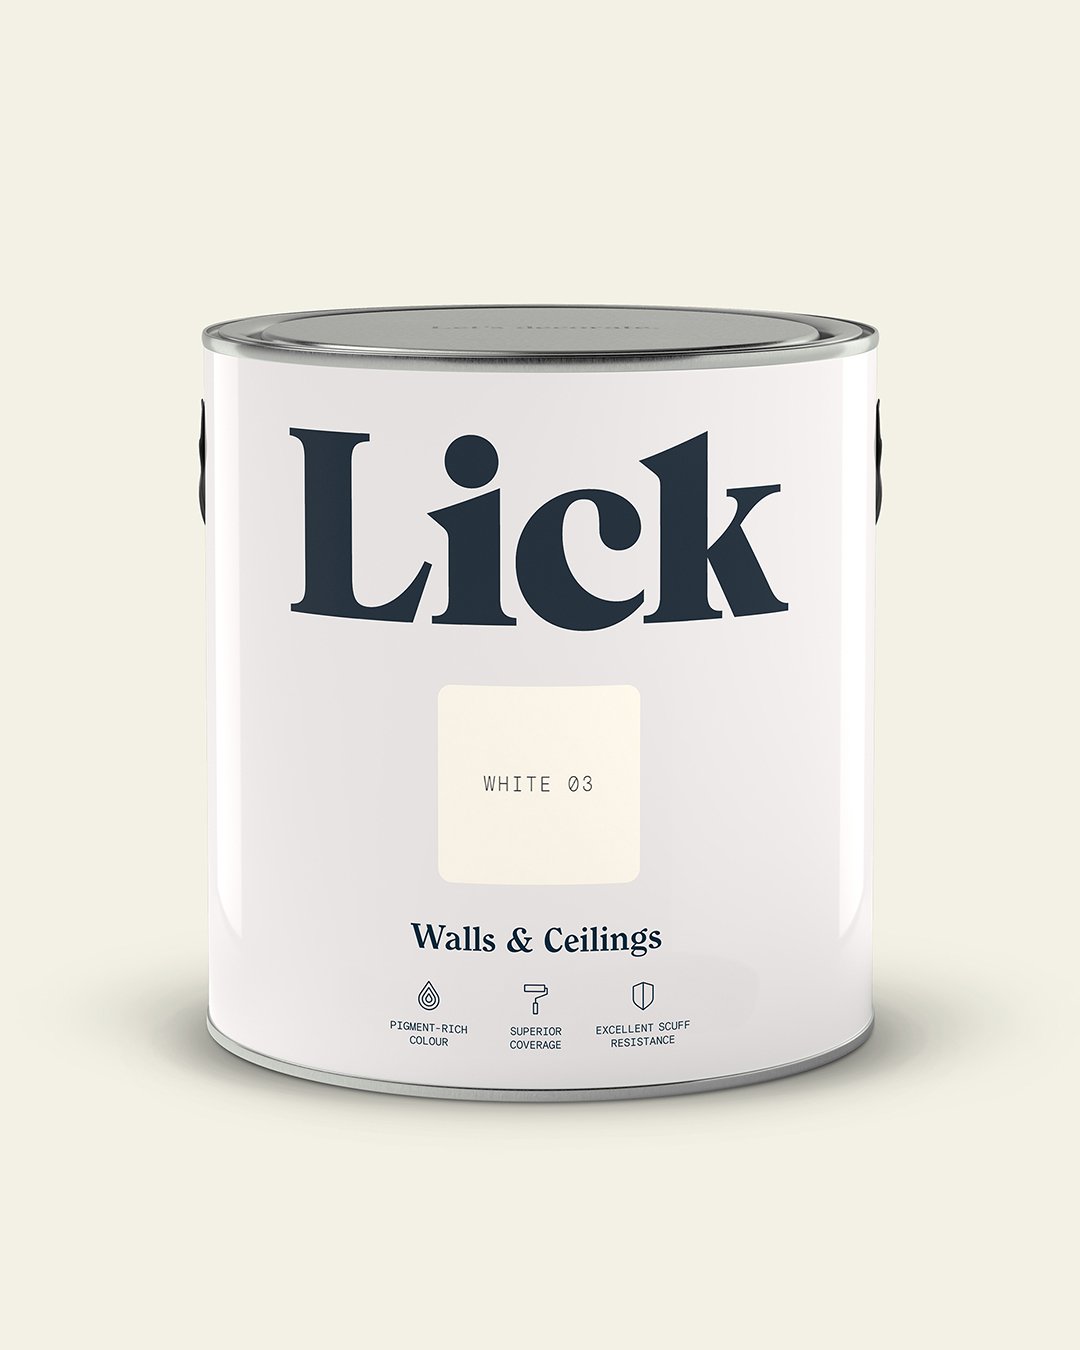
When searching for colours, Esin wanted to go for something that could stand the test of time. Something warm and cosy, with a mature vibe that he could enjoy for many years to come. She had a colour consultation with one of our specialists, and was recommended ‘White 03’ for the job.
Establishing the budget
As Esin had previously worked with the wooden battens in her home, she already knew this transformation would be extremely budget-friendly. The materials required for the job were affordable and widely accessible.
The makeover
For our readers at home, Esin has kindly outlined the batten building process below:
- I steamed and stripped the superhero wallpaper that was on the feature wall, then filled and sanded down any damaged areas
- I then applied a standard white undercoat, before I began attaching the wooden battens. In hindsight, I wished I had used the ‘White 03’ paint at this point, as it would’ve saved a lot of time when trying to paint between each batten towards the end
- I then measured and cut the battens to size; each one had to be cut differently and at a specific angle, due to the shape of the wall. I sanded each end down to avoid any brittle ends and used ‘No More Nails’ glue to apply them against the wall. I used a small piece of batten to guide the distance between each gap, so that they were all evenly placed along the wall
- Naturally, wood battens aren’t always straight and can have a slight bend to them; so I had to add a couple of nails through the battens and into the wall. You will find that the walls aren’t always straight either, so this prevents them from popping out or becoming loose after a while
- Once we finished the whole wall, my son and I painted the battens in the ‘White 03’ colour. I used a larger paint brush and roller, and my son used a smaller brush to get into the gaps. Team work makes the dream work!
- Once dry, we placed his bed back into position and styled the room to match the new look. He absolutely loves it! Esin used 30mm x 16.5mm thick ‘planed spruce cladding’ battens from B&Q, which come as a pack of 12.
Esin’s experience with Lick
“My experience with the paint was nothing but positive. The battens aren’t smooth, and have many natural wood flaws on them - but Lick’s thick paint texture managed to cover every imperfection beautifully, leaving the finish so smooth.
The paint was very easy to work with, as the coverage is effortless. I was lucky enough to get Sam’s advice when choosing the right colour for his feature headboard. I needed something warm, with no grey undertones, and she knew exactly what I was looking for. When I received the sample stickers I was able to stick them inside the battens (as it was so flexible), which allowed me to see how it would look when painted. The sample stickers are an exact match to the paint colour itself, and so handy as you can move them around the room as many times as you like”.
Revealing the budget
This feature wall transformation cost Esin approximately £80. This included the wood battens, ‘No More Nails’ glue and one tin of our paint in White 03. She already owned the tools necessary for the job, due to previous projects in the house.
We love this DIY wall hack, as its not only super affordable – but wonderfully effective!
Esin’s DIY advice & tips
- I extremely enjoy DIY projects. They keep me active, and when I envision something that I managed to bring to life, it brings me so much joy. When you do it yourself, it becomes a little more special and personal – so I would always advise someone to give it a go. The satisfaction is priceless!
- Order as many paint samples as you can. My DIY moto has always been, “paint is magic”. It can transform anything dramatically, without spending thousands. Try and work with what you already have - if you can paint it, then go for it – upcycling projects are budget-friendly and sustainable. A lick of paint transforms everything; whether its walls or furniture - it makes it brand new again
- Mood boards are key. It allows you to create your idea visually, before you begin physically - which will save you time and money. Experiment with prints or materials, or even try using some online apps. They are a great tool and this kind of pre-planning won’t cost you any hasty decisions in the long run
- If you’re on a budget, hunt around on eBay or Facebook Marketplace. There is some amazing furniture and accessories out there, just waiting to be discovered. As they say, one person’s trash, is another person’s treasure!
Inspired by Esin's DIY wall panelling? Check out our tips on how to do DIY bedroom and hallway wall panelling here.