


Upcycle your chest of drawers using Lick paint

Laura (@_farley_and_me_) is 34 years old and lives with her husband, Elliot, and their little boy, Farley. She works as a senior manager in technology after moving to the UK from Australia in 2015. They live in London in a rented two-bedroom apartment, complete with large open plan living space, sky lights and a private outdoor area.
Laura has kindly offered to share her DIY upcycle of a chest of drawers that she bought for Farley’s nursery…
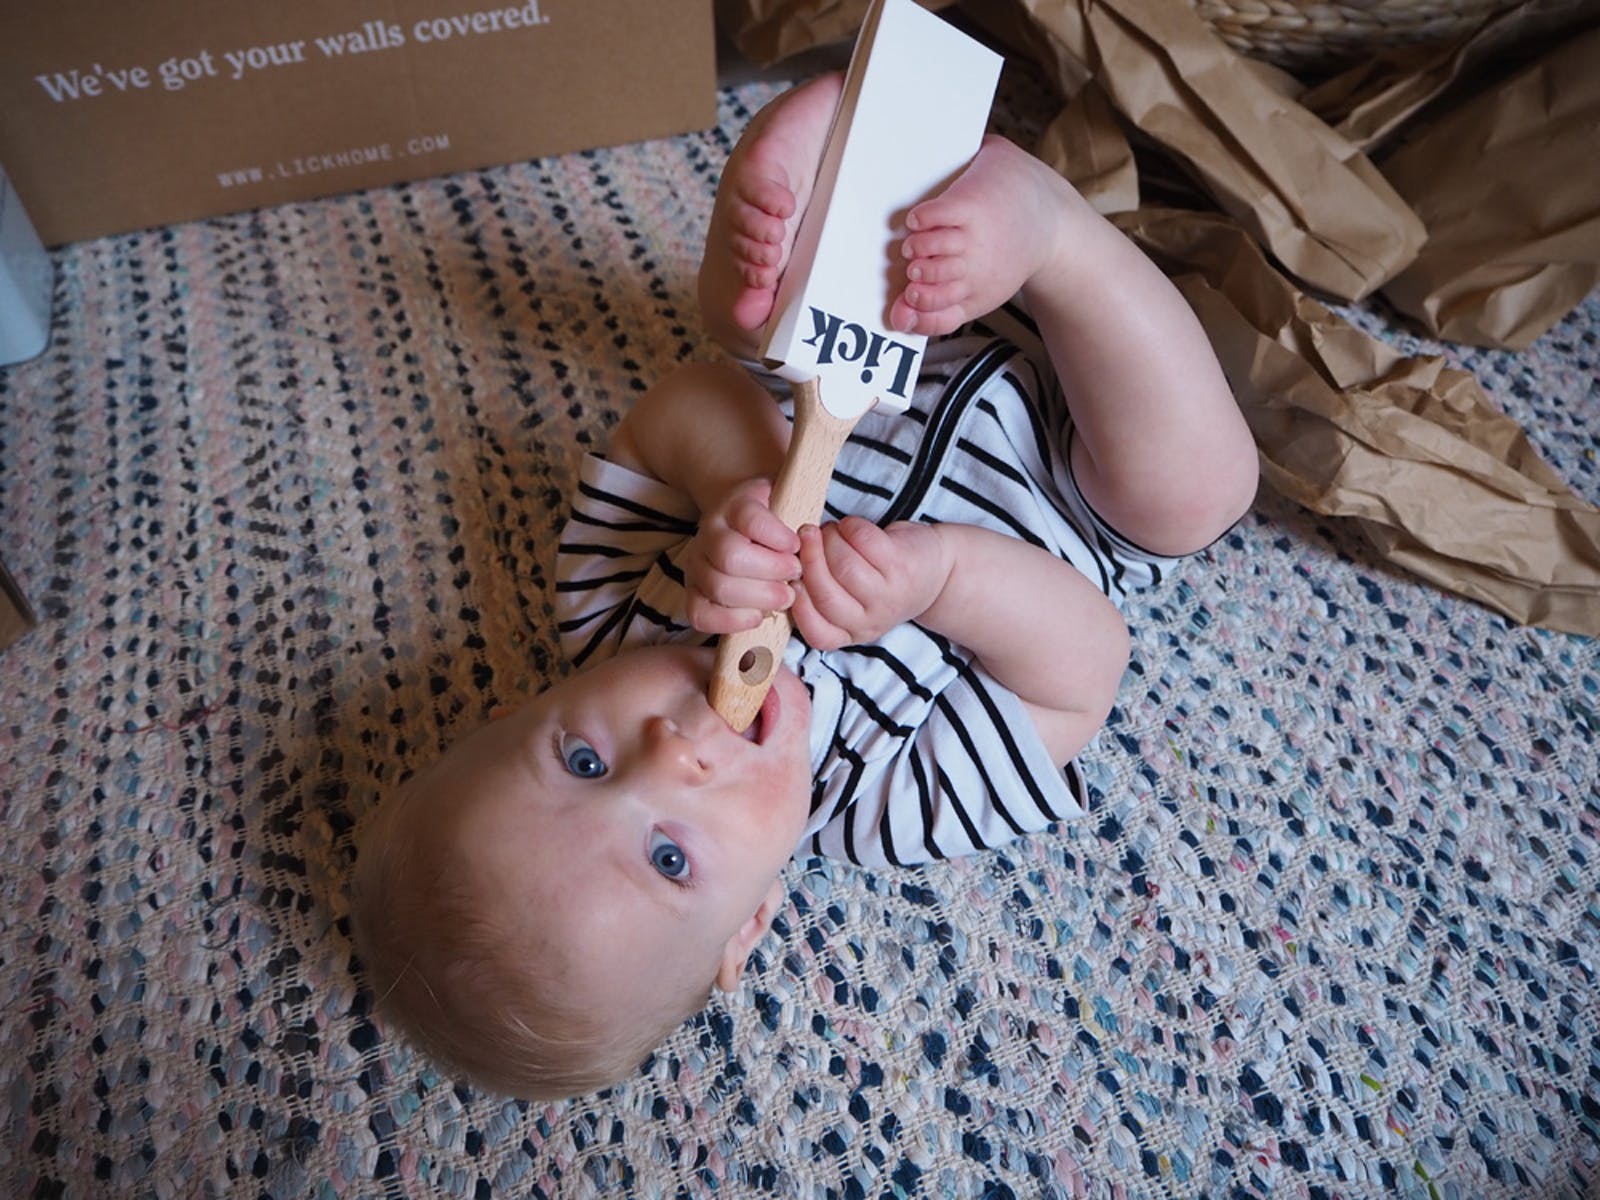
Before the Makeover
Their second bedroom had always been a spare room since they moved it, but they were excited to transform it into a nursery for their new little addition.
“We looked at nursery furniture everywhere and it was all so expensive. Because this isn’t our ‘forever home’, we didn’t want to spend loads of money on creating an extravagant nursery for Farley, but we did want it to be a space that we could all enjoy”.
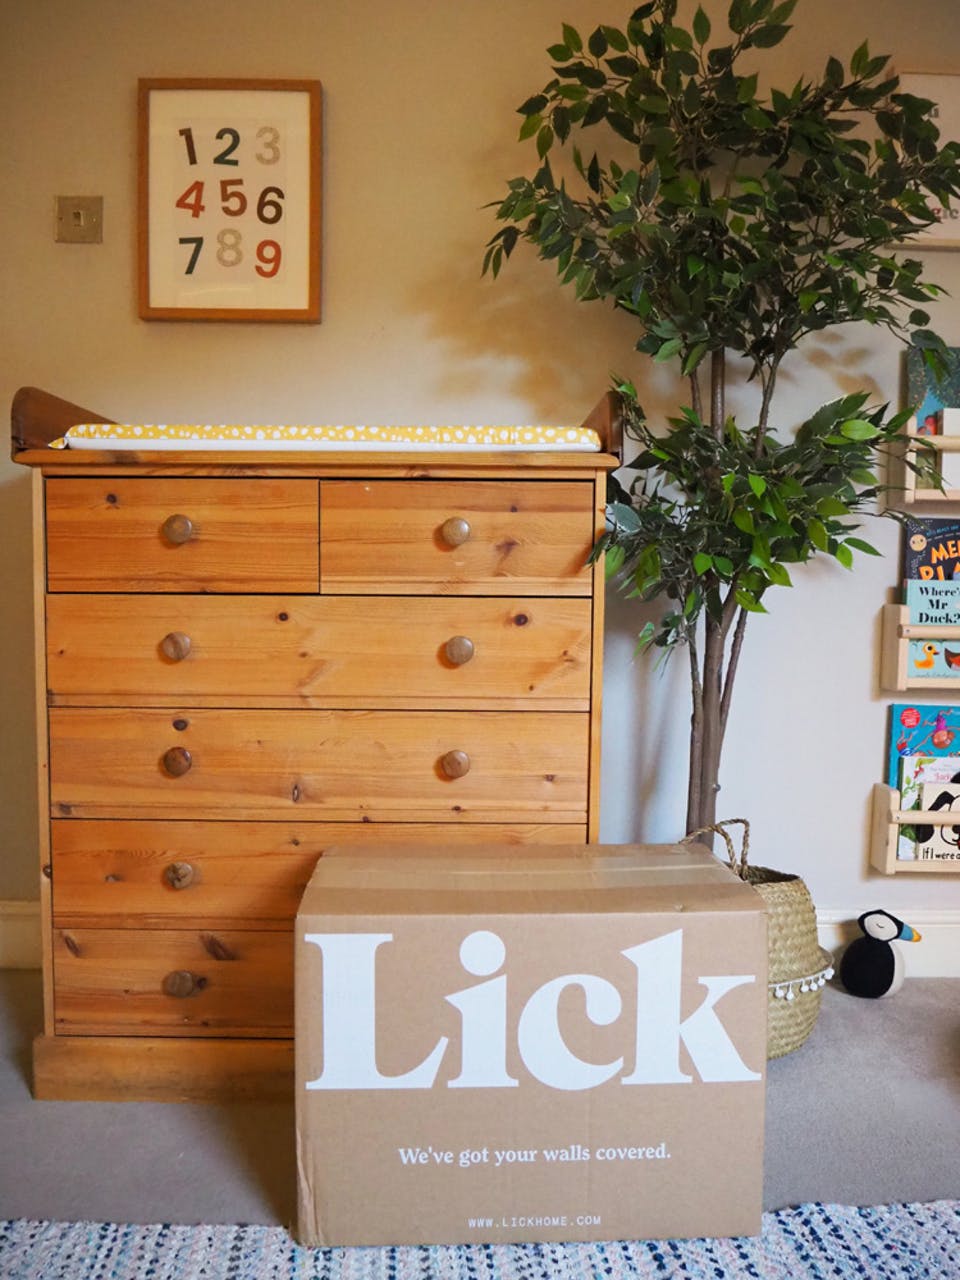
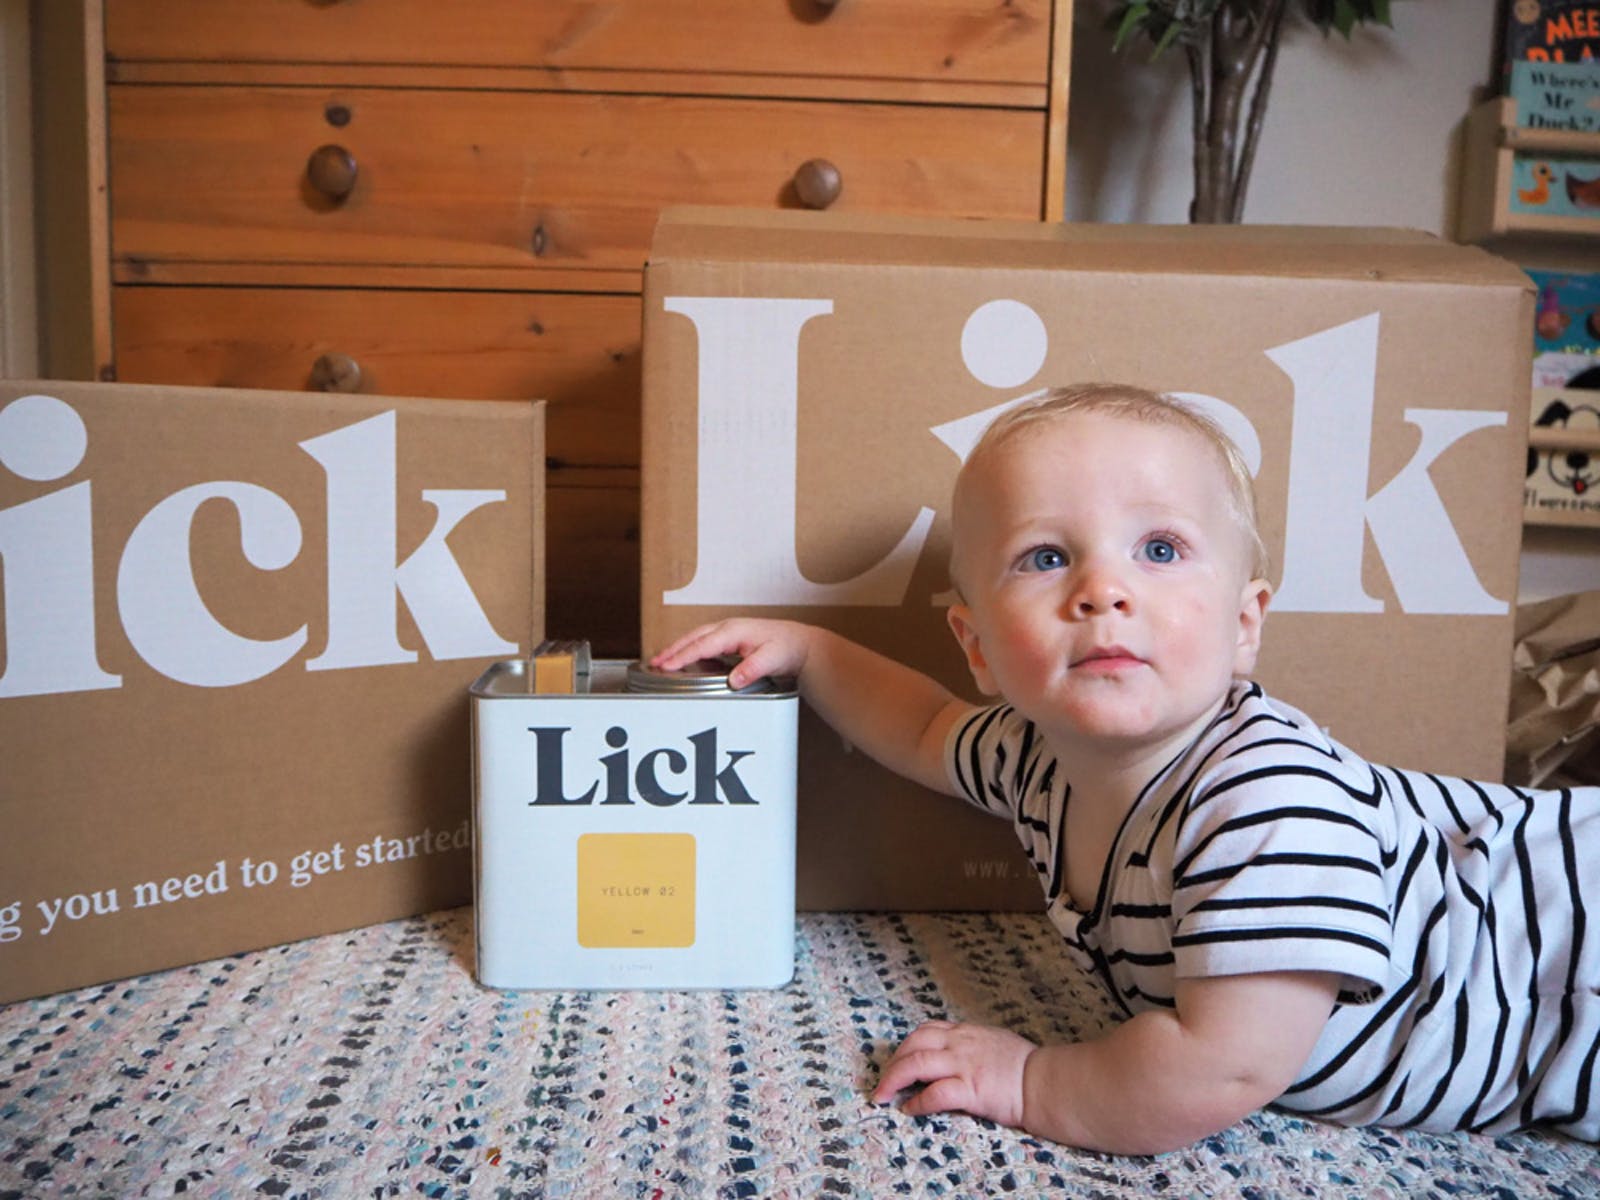
Planning & inspiration
Laura had explored lots of different nursery inspiration images via Pinterest and Instagram, but nothing really seemed to jump out at her. She described their home as a ‘mismatch’ of different items and tastes – a representation of two people coming together and sharing their own, individual possessions. With this sentiment in mind, they wanted to create a nursery that also had a mismatched feel to it.
Establishing the budget
After they decided not to blow a large budget on the nursery makeover, they researched ways in which they could create an admirable space for less. First stop, Facebook marketplace…
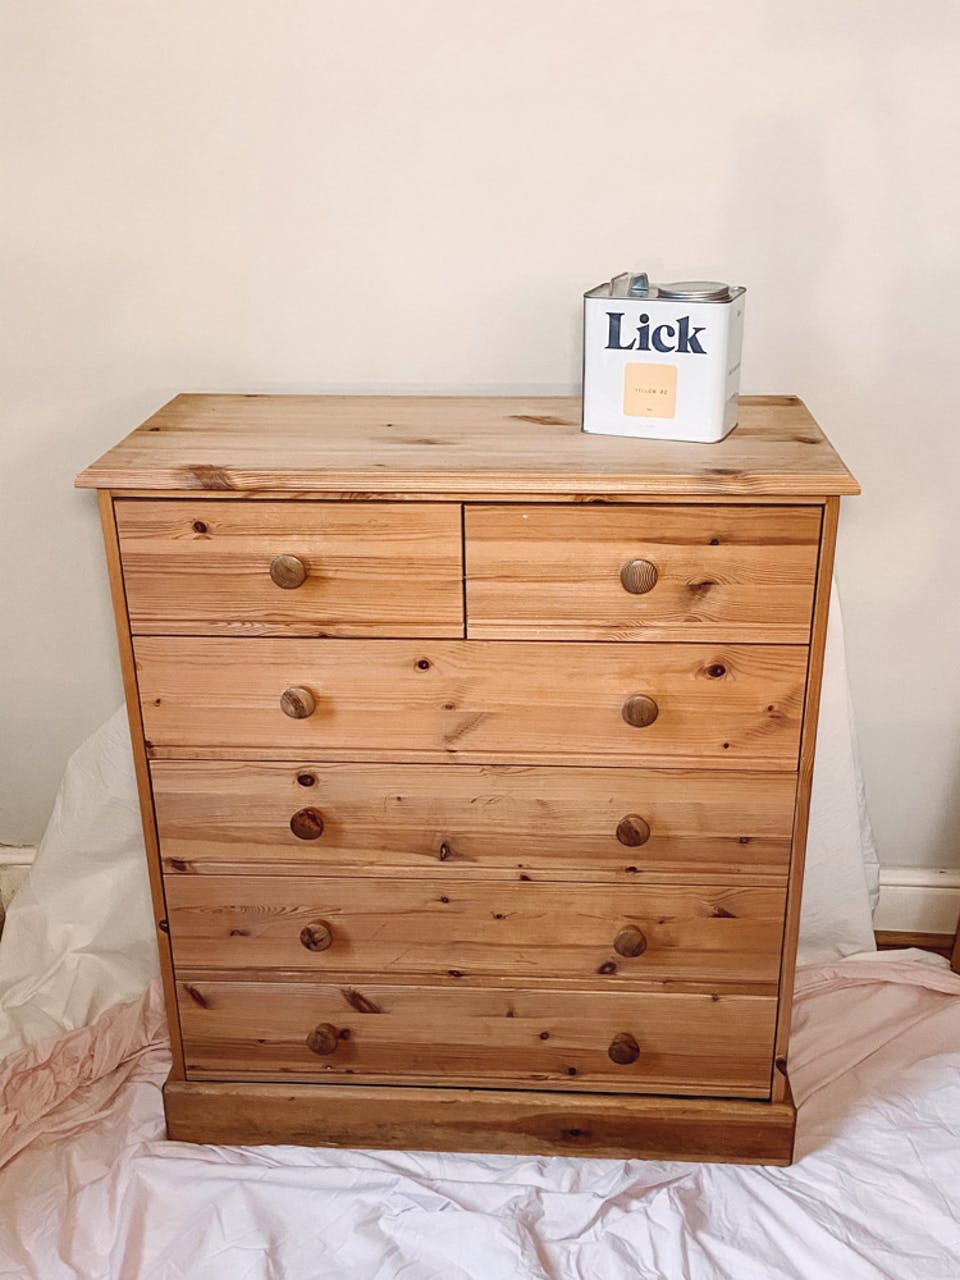
“I was looking for a children’s wardrobe and chest of drawers that could be easily painted. It took about 6 weeks, but I finally stumbled across the perfect set; which also included a child’s bed! And the best part - it was only £50 for the lot! So, we picked it up and stored the bed in the basement for now."
Check out our wardrobe paint top tips.
The makeover
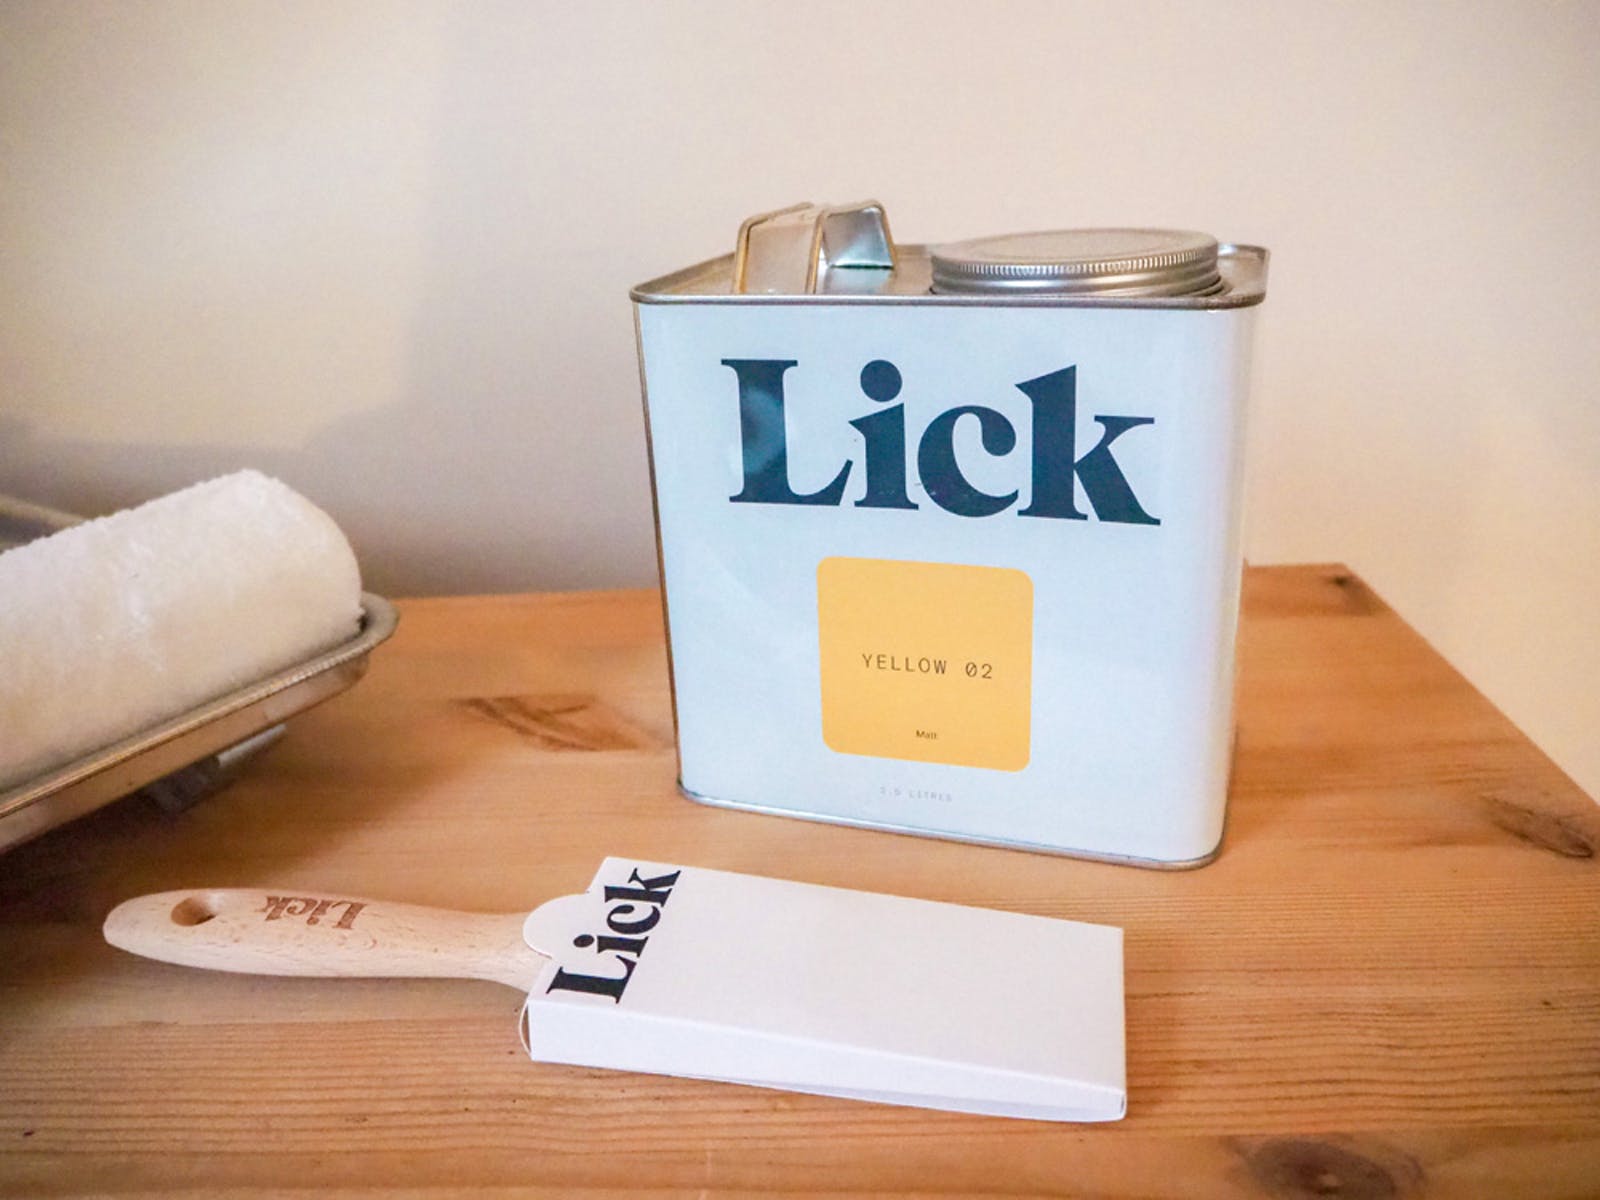
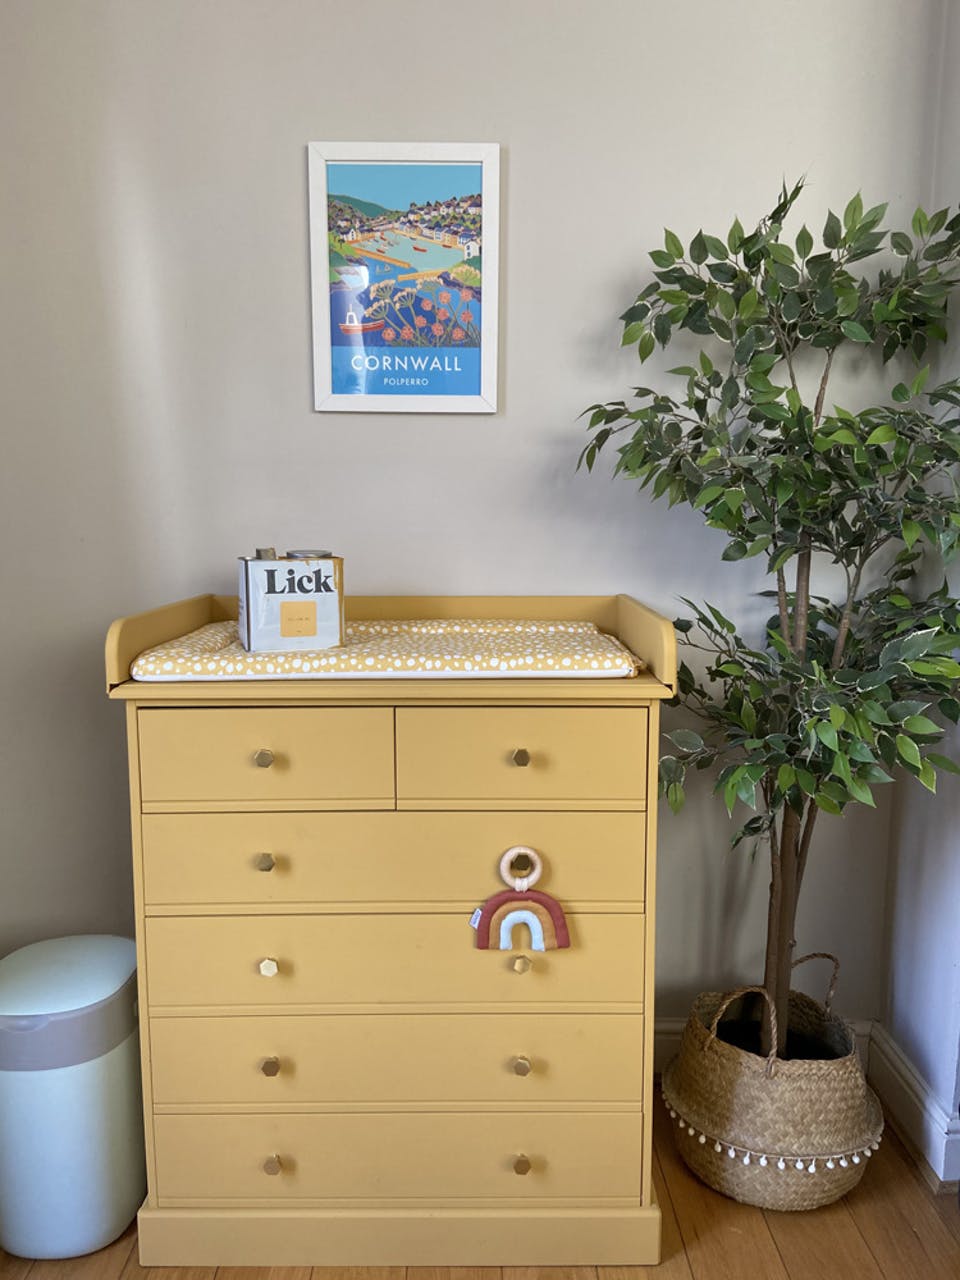
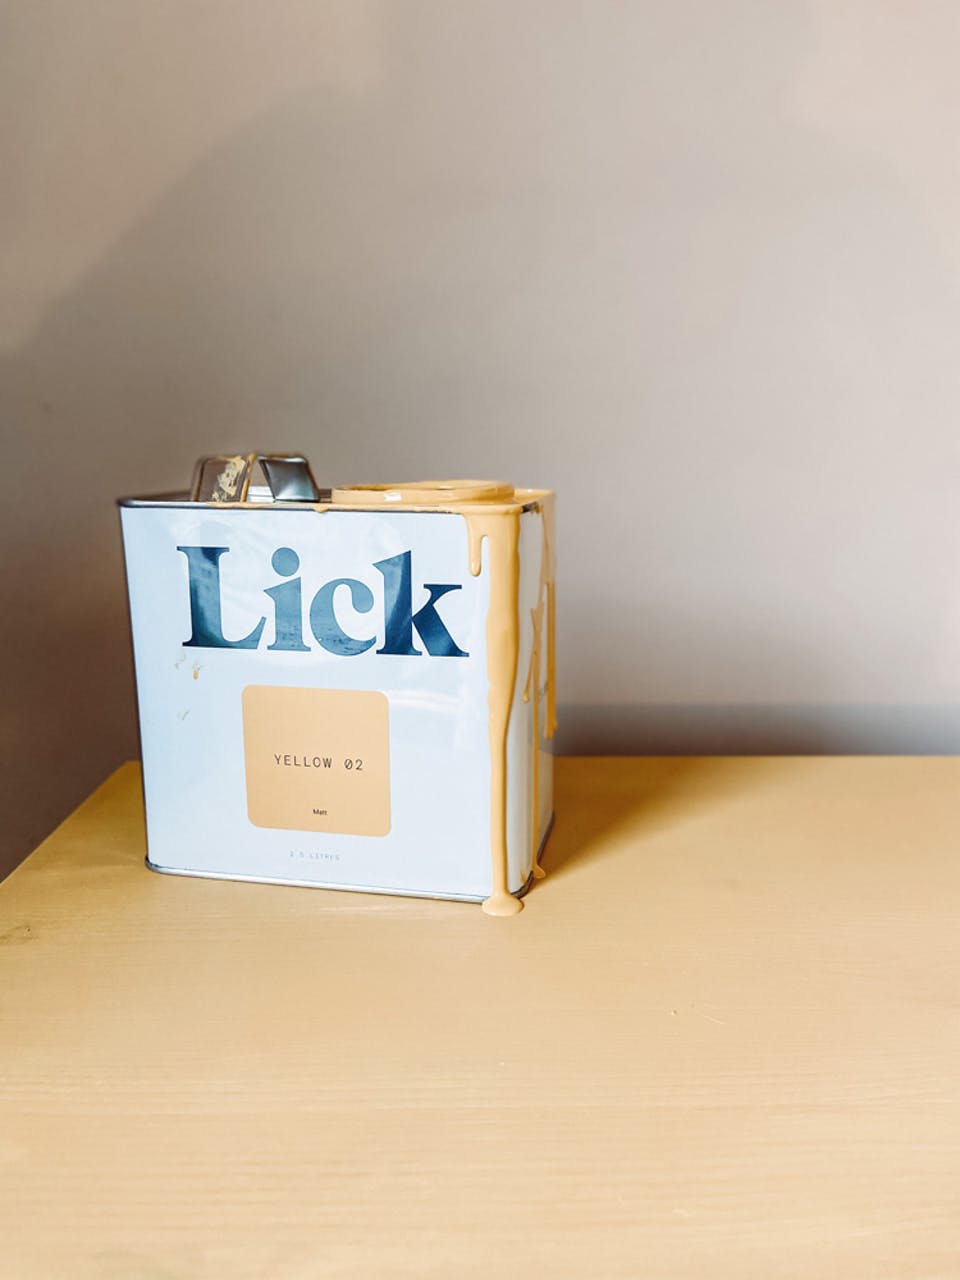
The first step of the DIY upcycle was to find the perfect colours to paint them in. She only discovered Lick after already painting the wardrobe; however, she knew she wanted the perfect shade of yellow for the chest of drawers and Laura tells us she found that in our shade, Yellow 02.
“I liked the look of this colour on the website, and it fit in with the other colours of Farley’s nursery. I also liked the idea of yellow, because if we want to change it up further down the line, it will be easy to repaint and choose a new colour”.
The chest of drawers was luckily a plain, un-treated wood with round wooden knobs and a baby change platform on top.
“I also liked the idea of yellow, because if we want to change it up further down the line, it will be easy to repaint and choose a new colour.”
How to upcycle your chest of drawers
Laura has kindly shared her step-by-step upcycle guide below:
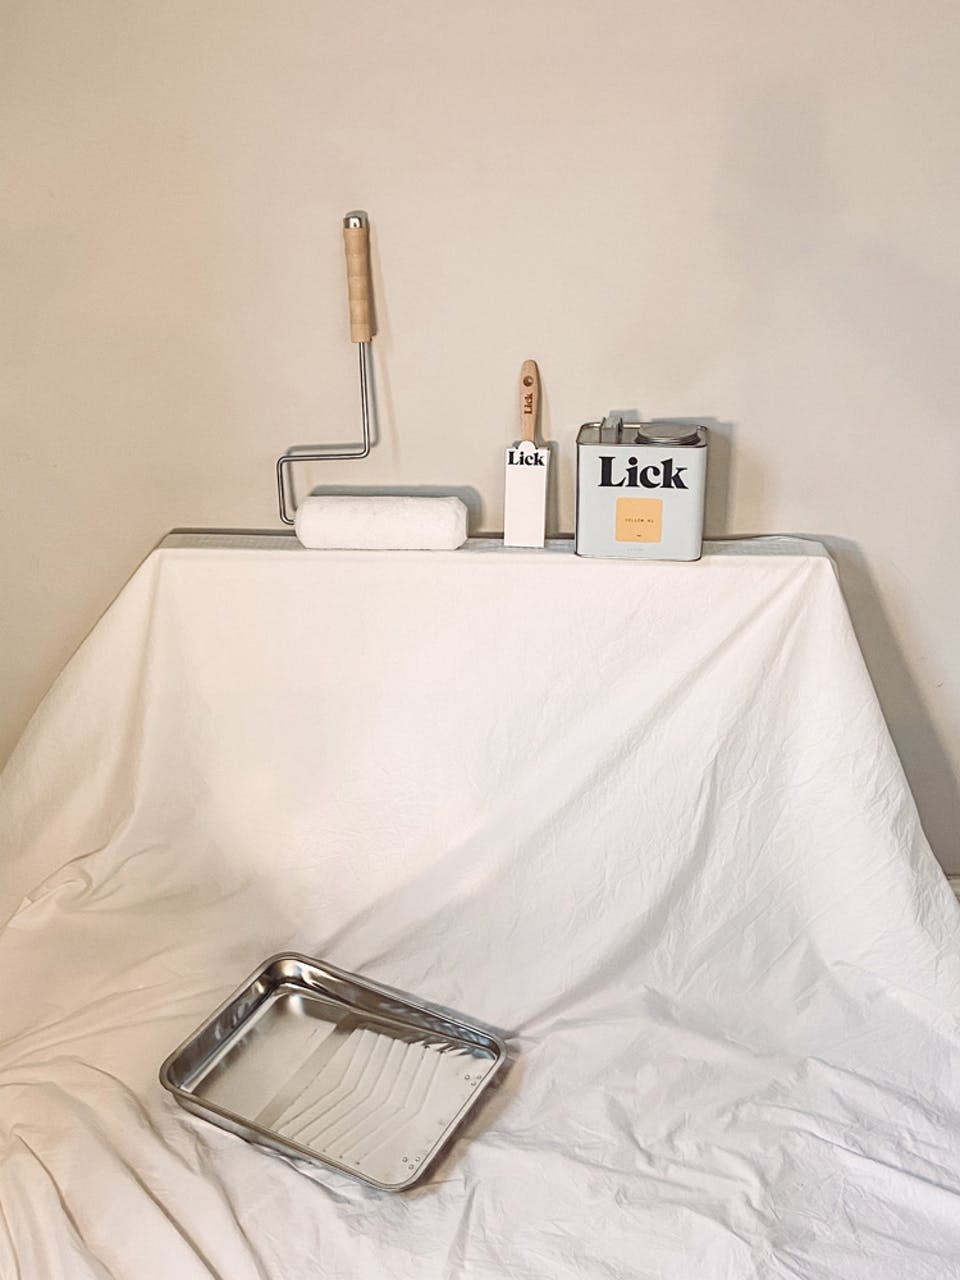
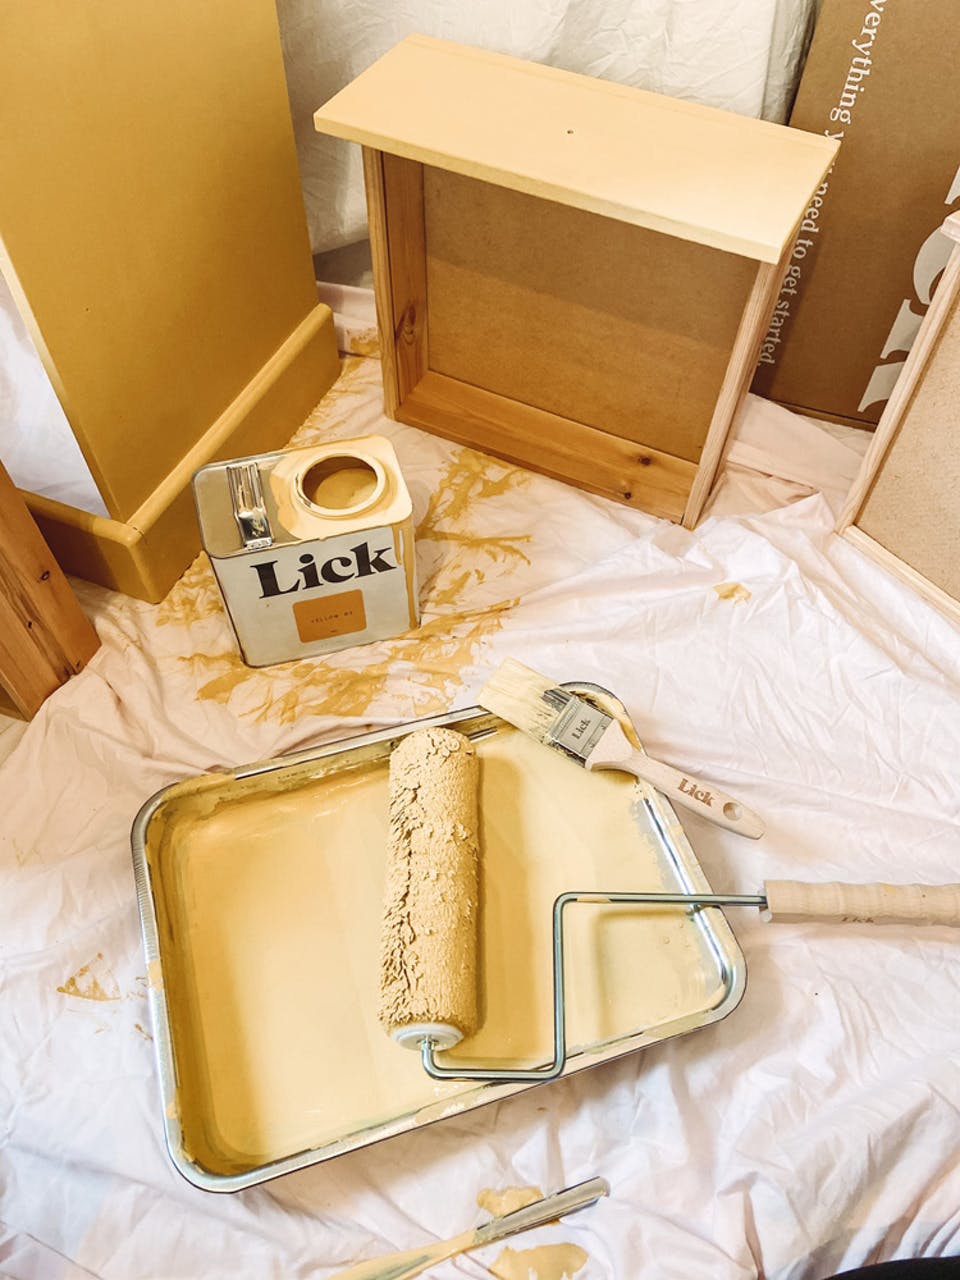
- Firstly, I had to set up a baby friendly, painting area. This was tough, as it had to be inside due to the bad weather at the time.
- I then sanded back the little bumps I could feel over the chest of drawers, then began painting. I switched between use of a roller and paint brush. The roller was handy for getting even strokes on the bigger surface areas, and the brush was great for the edges.
- Once the first coat had dried, I applied the second coat. I didn’t bother painting inside of the draws as I knew they wouldn’t be seen.
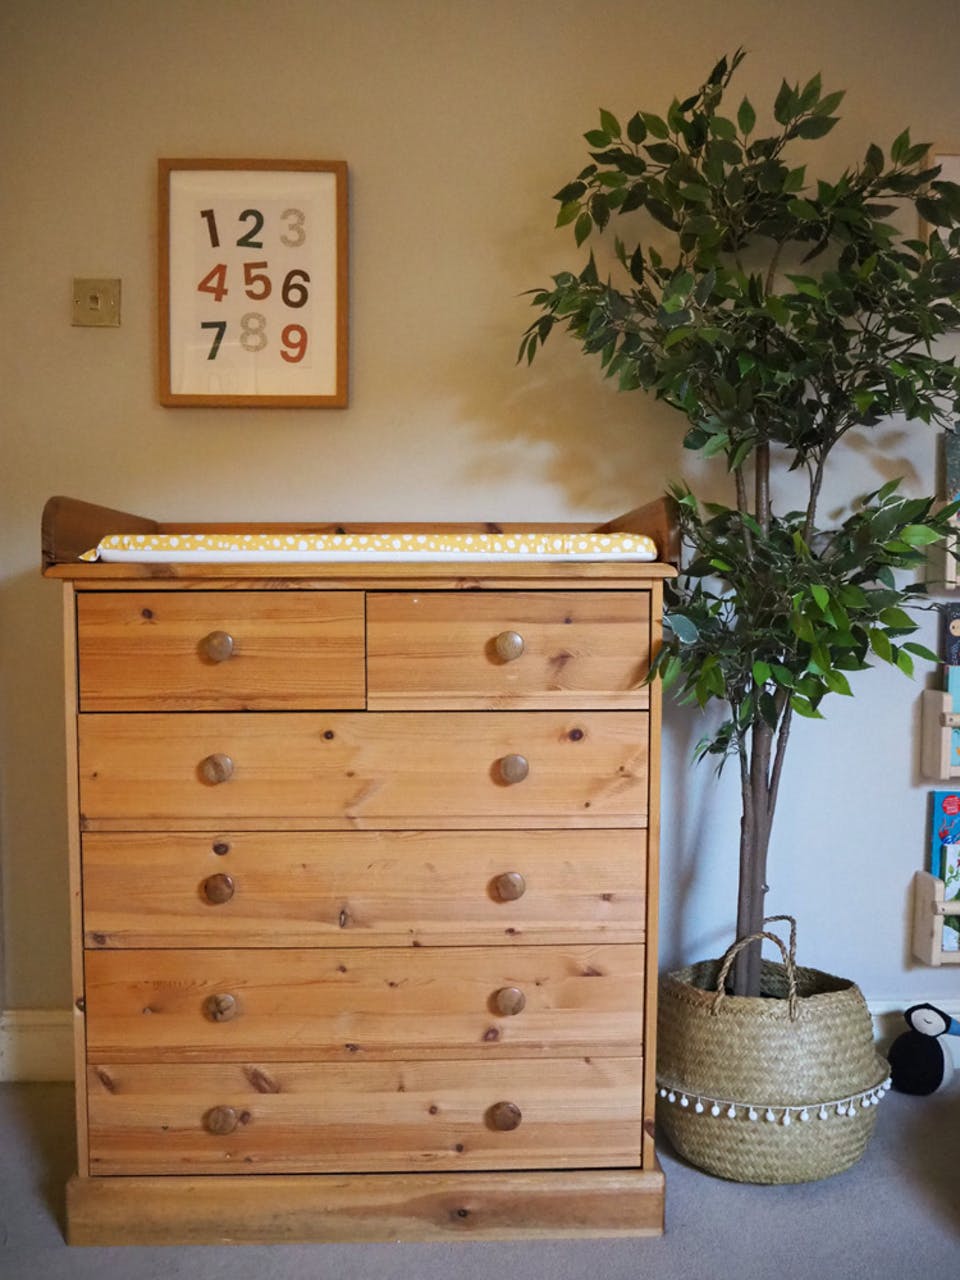
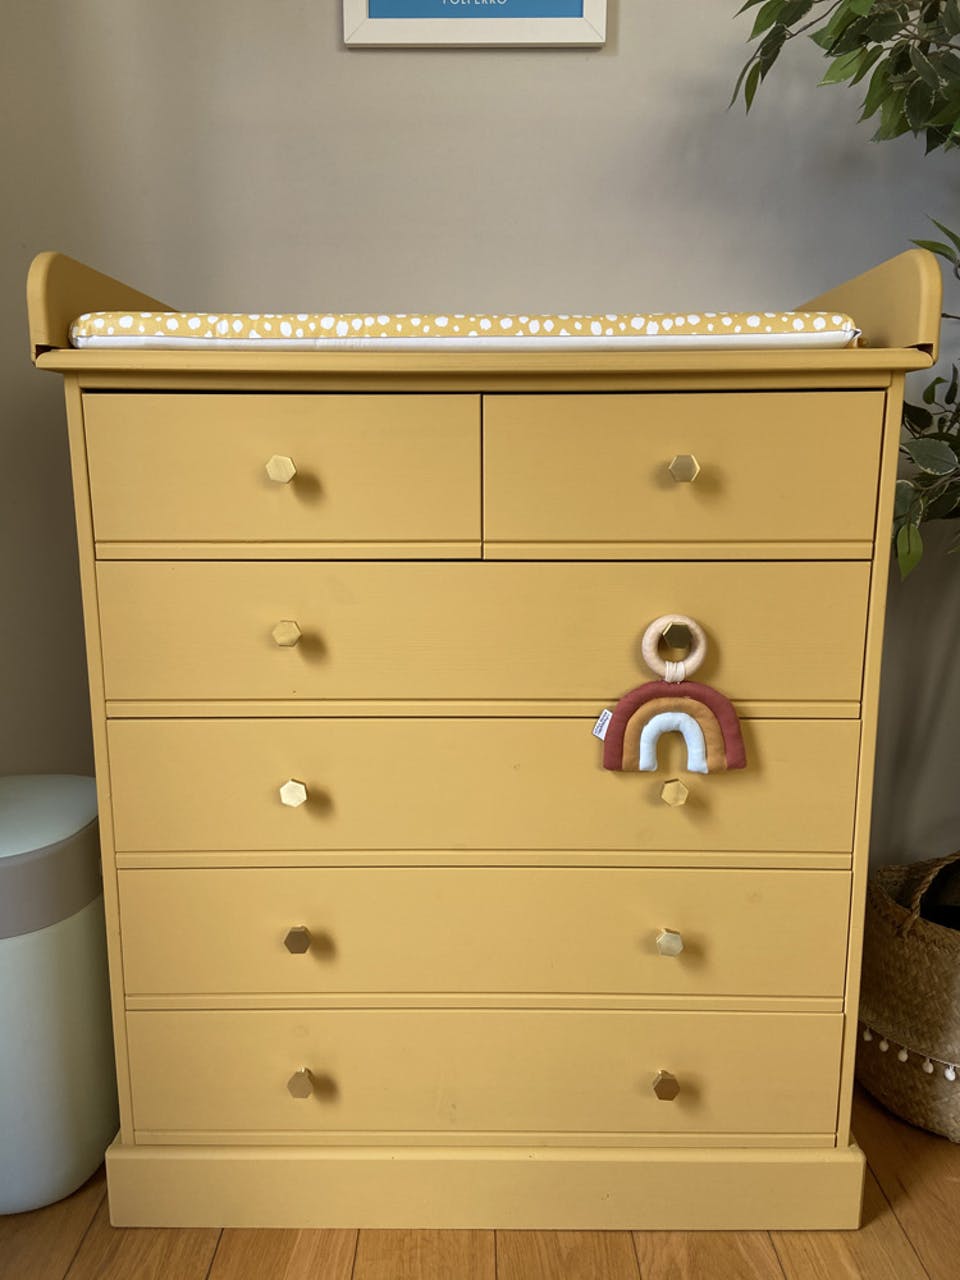
- Once the paint had dried, I replaced the old wooden knobs with some gold hexagonal ones I found on Amazon. I also added a new changing mat on top, and styled with a little decorative hanging rainbow.
This project took Laura around 2.5 hours, in-between running around after 8-month-old, Farley! We just love its funky, new look!
“My favourite part of the transformation was seeing the finished piece of furniture in the nursery, and how well it all tied in with the rest of our styling!”
Laura’s experience with Lick
The paint was fantastic to work with. There was no overpowering smell, which was important as it was going in our nursery. The paint dried quickly and it was very easy (for someone like me with no painting experience) to get a nice even finish. It only took two coats to get the desired effect, too.
“The paint was fantastic to work with. There was no overpowering smell, which was important as it was going in our nursery. The paint dried quickly and it was very easy to get a nice finish.”\n
I have already recommended Lick to lots of friends.
Revealing the budget
The transformation cost Laura a grand total of £69. This included the chest of drawers for approximately £15 (a split between the three items she bought off Facebook Marketplace), the hexagonal gold handles for £16 off Amazon and the one tin of our paint for £38.
Laura’s DIY advice & tips
- Be patient. If you’re looking for something to fit in with your home, it is out there! You will find it for a great price, you’ve just got to keep looking without taking the plunge for the first item you see
- Follow upcycling accounts on Instagram for some great inspiration. Geneva Vanderzeil is my favourite
- Have fun! Your house doesn’t have to be full of expensive, designer things. Invest in some good pieces and simply ‘fake it till you make it!’
Looking for more upcycling DIY tips? Discover how to upcycle your bathroom cabinets using Lick leftover paint and how to upcycle your bedside table.