


How to approach a kitchen makeover

When it comes to kitchen re-designs, everyone knows that they can be costly, a lengthy-process and often quite stressful. I remember when I had my kitchen renovated and there were times where we were crawling over tools and supplies in order to move from one room of our flat to another and I'm pretty sure I ate breakfast off a spare splash back tile for about a week.
So being a designer, we know that keeping costs down and giving kitchens more of a "refresh" rather than a full on renovation can be a more convenient, affordable and stress free alternative. That's exactly what we decided to do in a recent kitchen refresh project in North London.
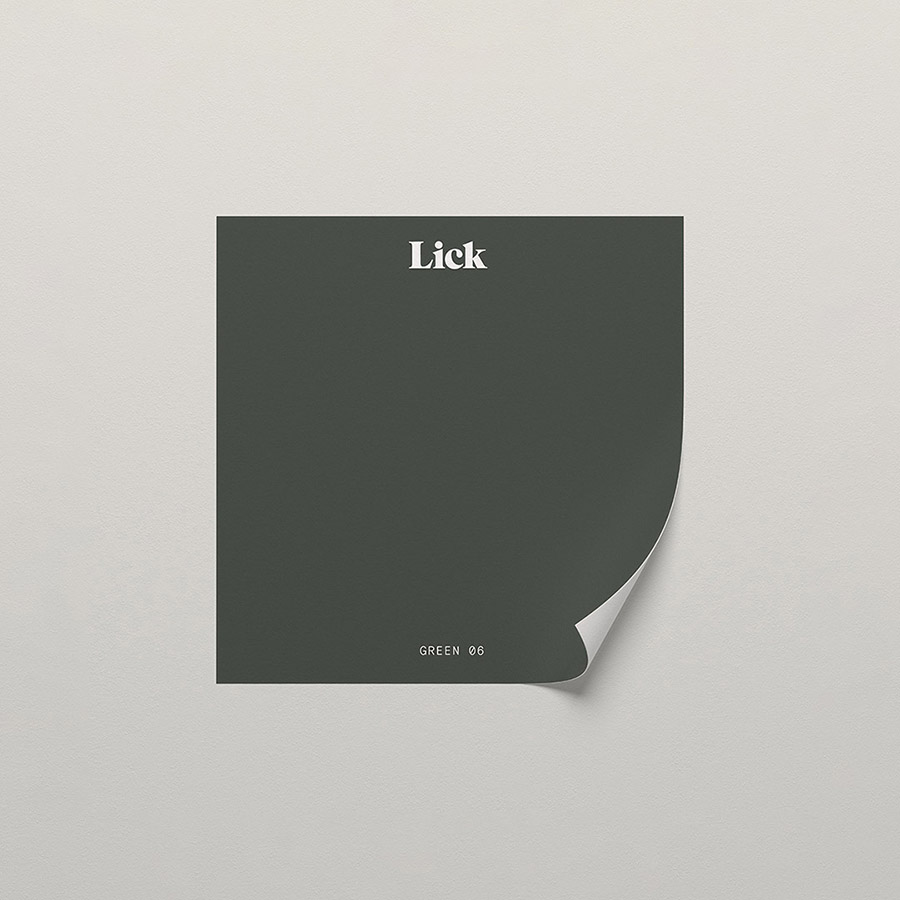
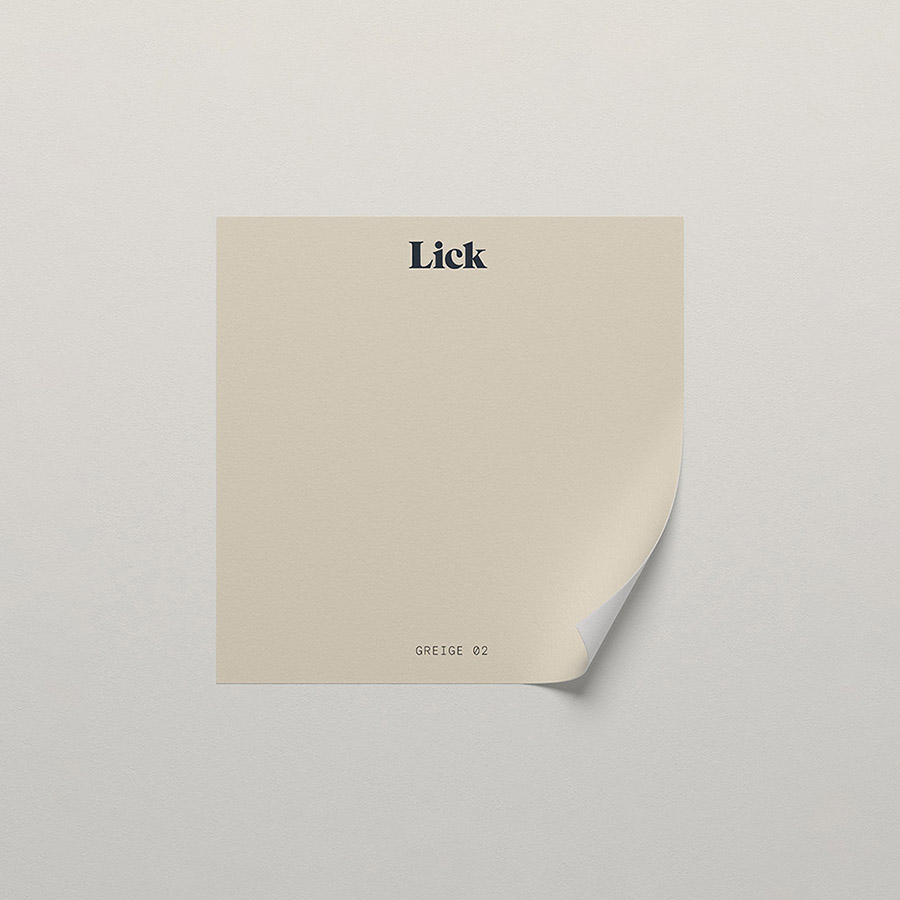
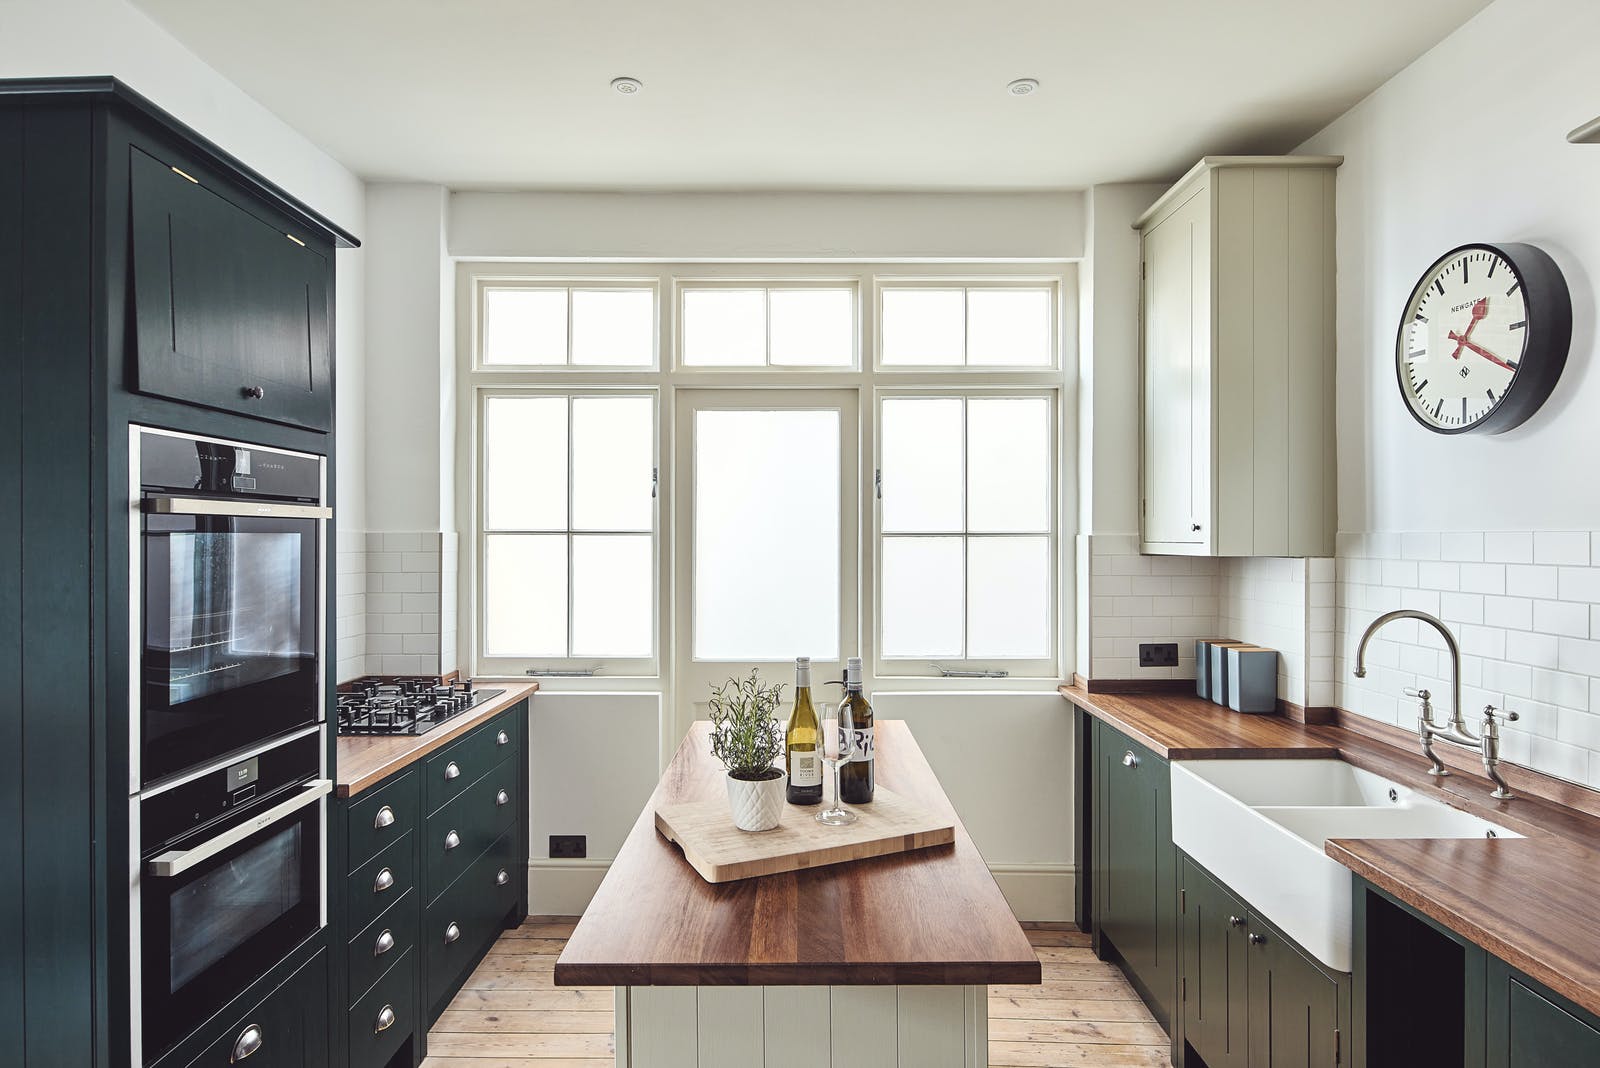
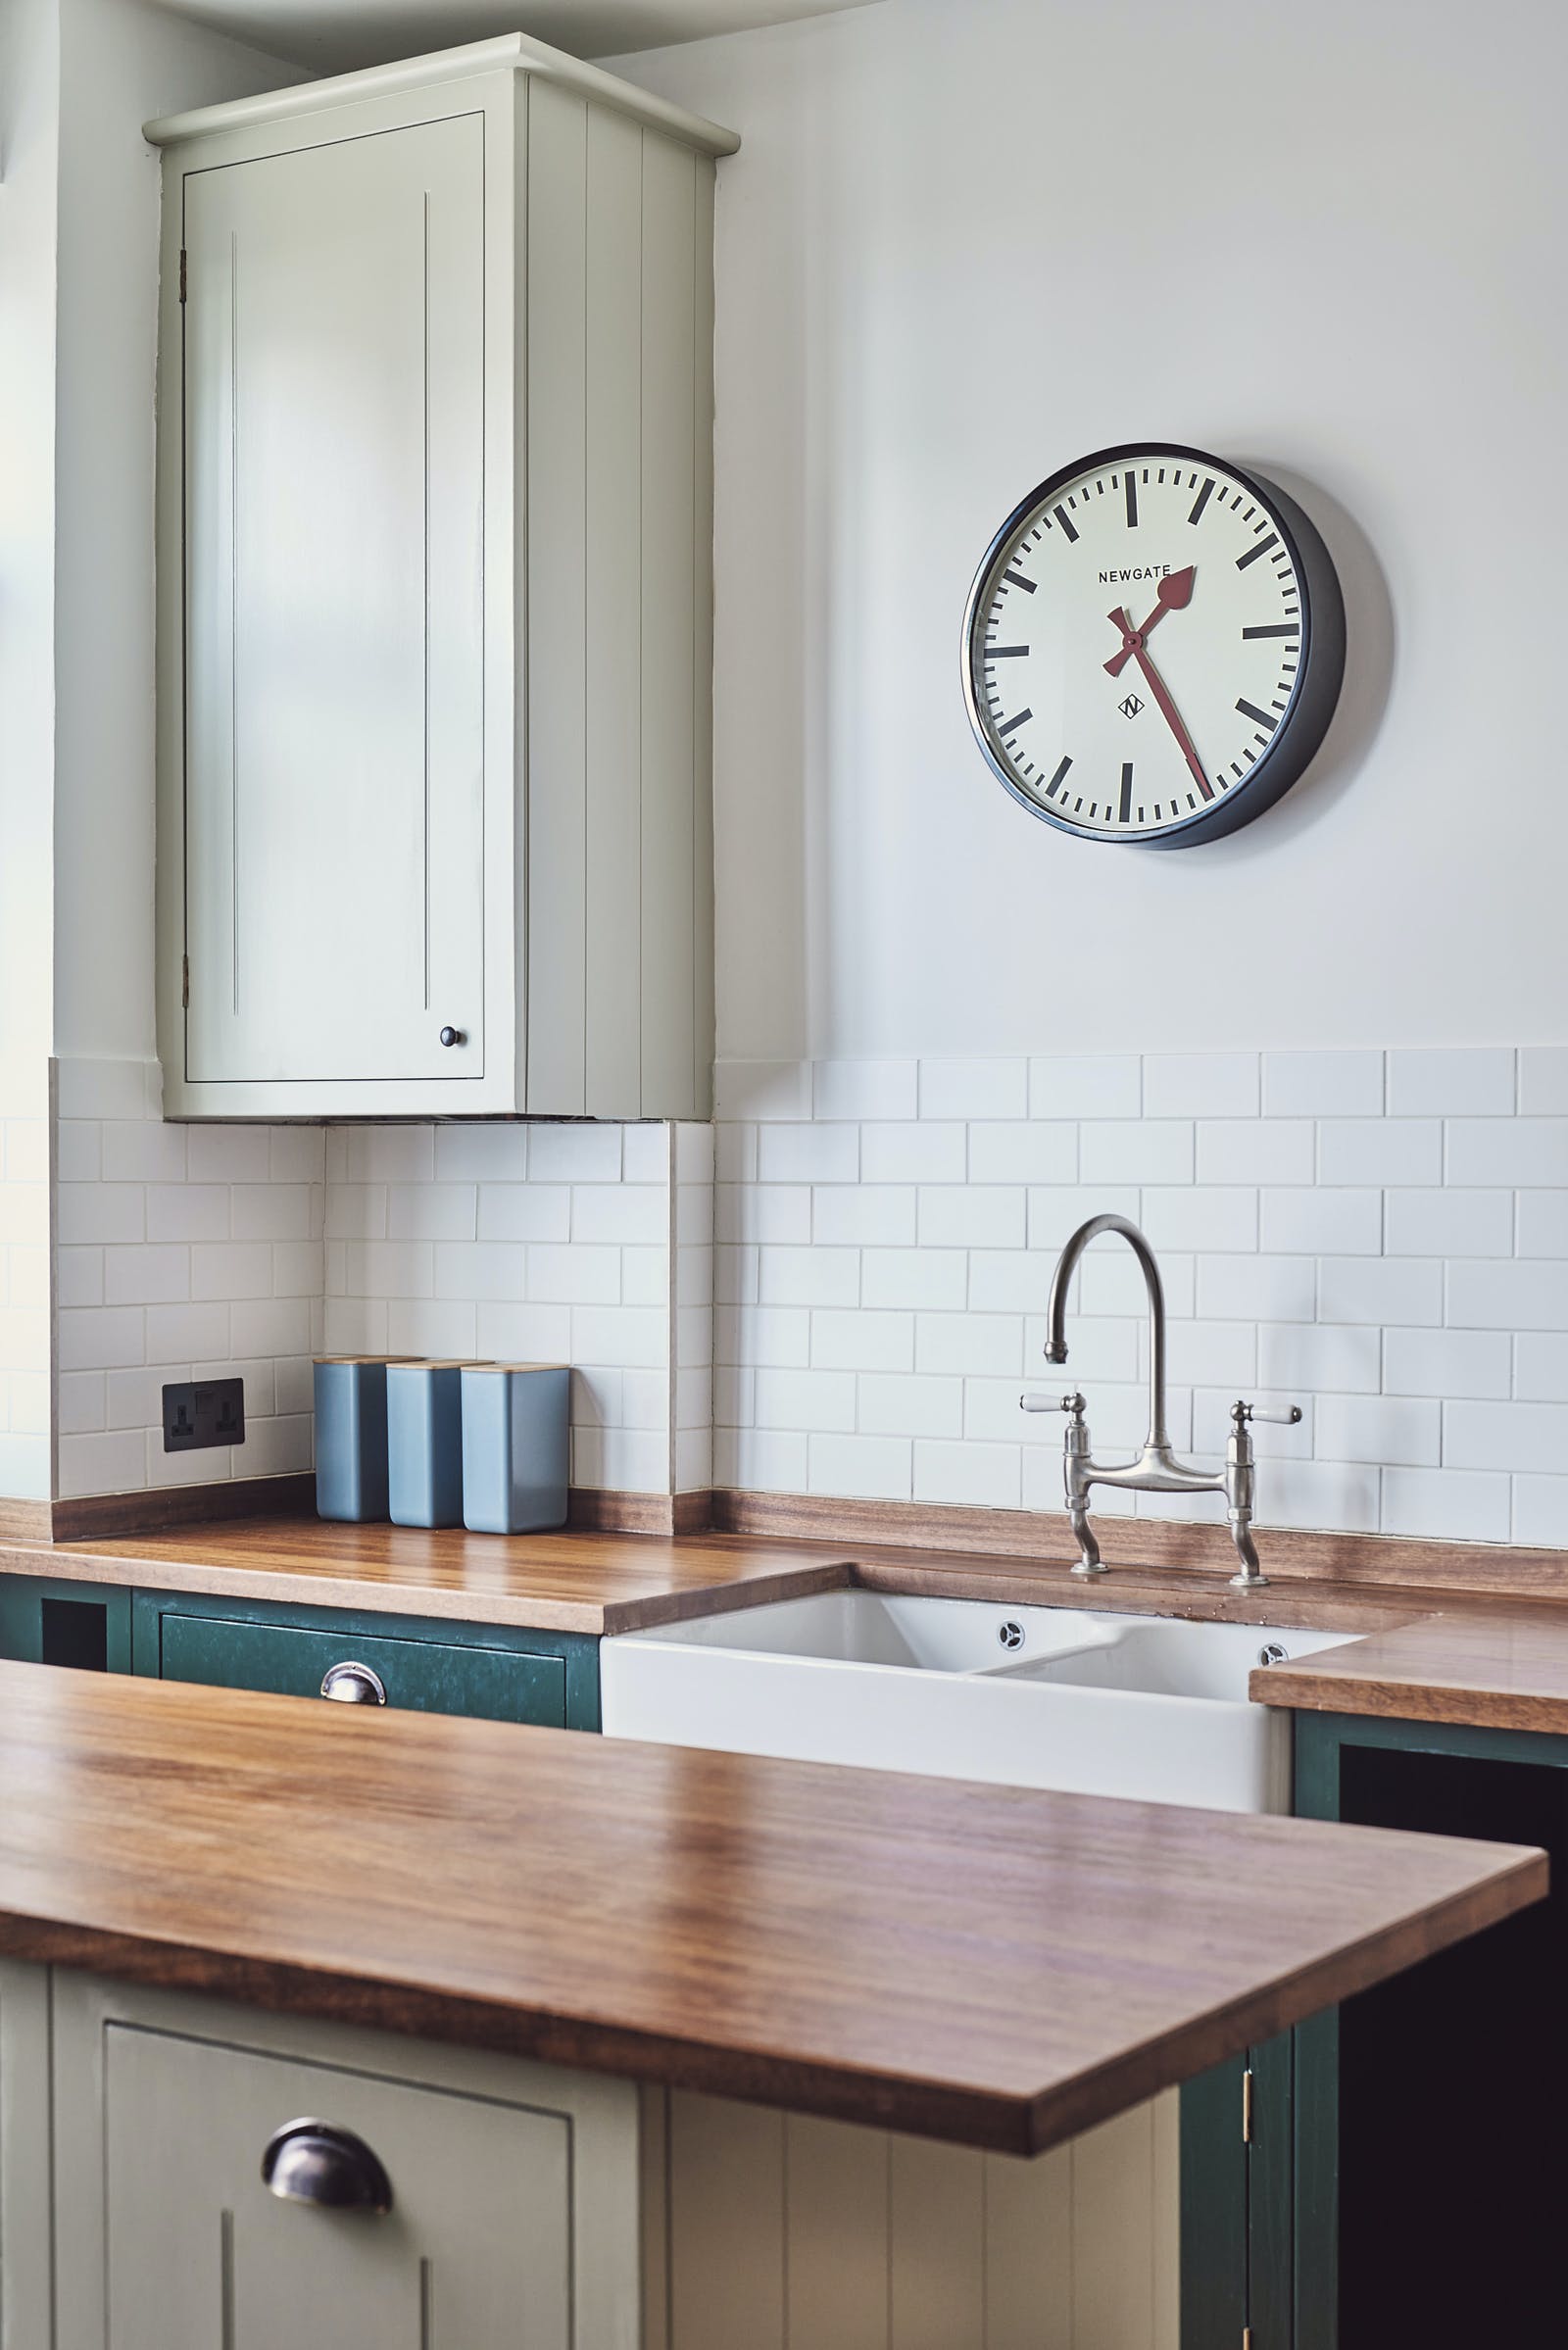
The kitchen was previously bright blue and looked really garish. The client who has a super cool, laid back and sophisticated needed something much more in line with his own vibe so we decided that using Lick's Green 06 paint and Greige 02 paint was a better idea.
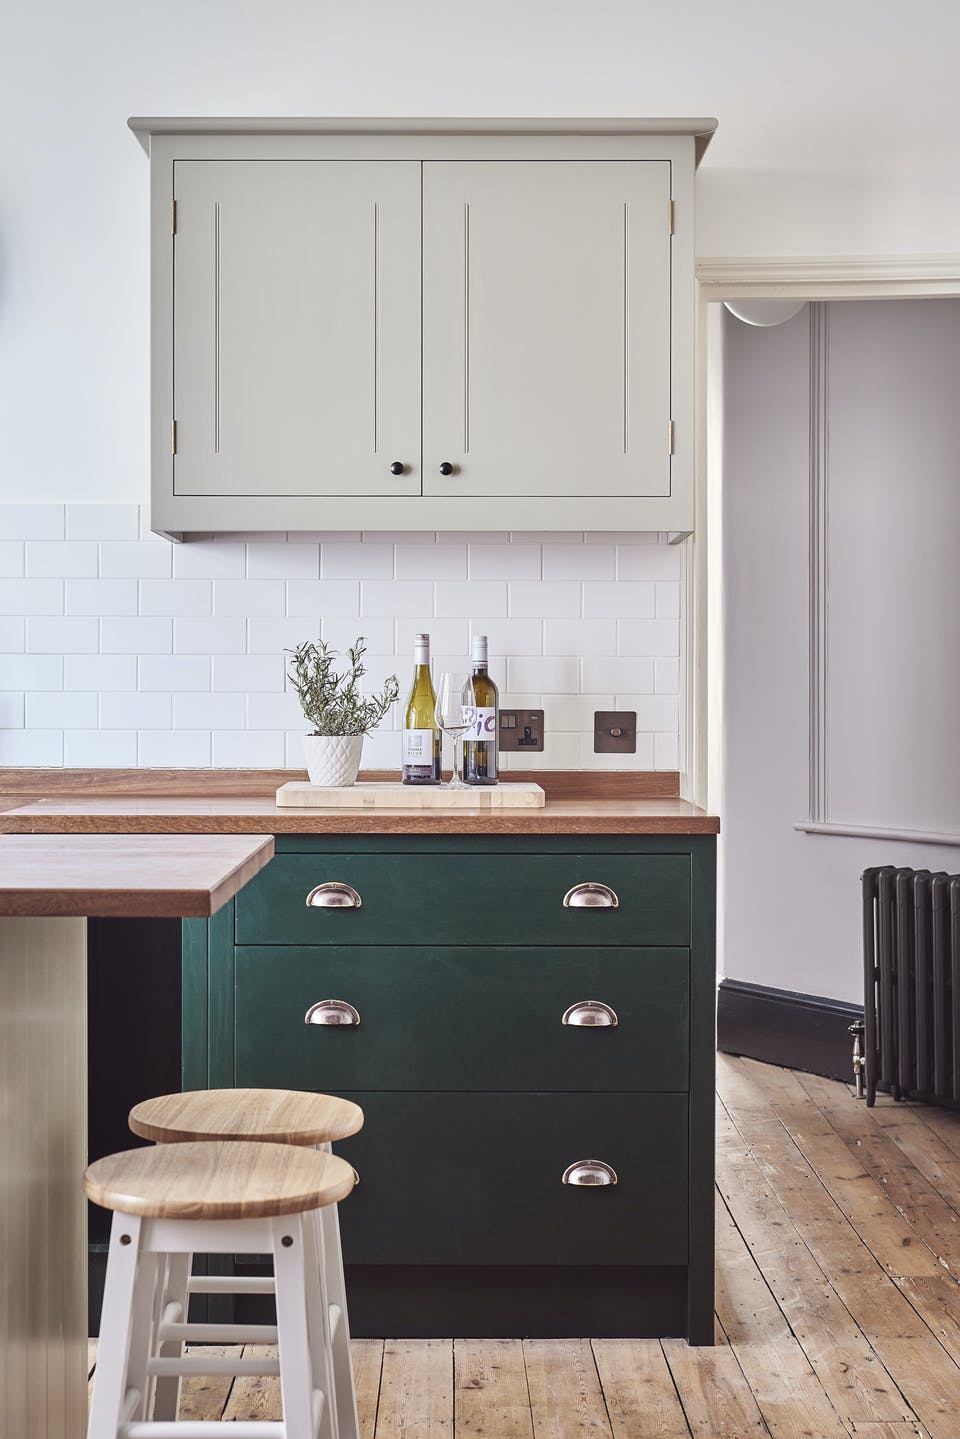
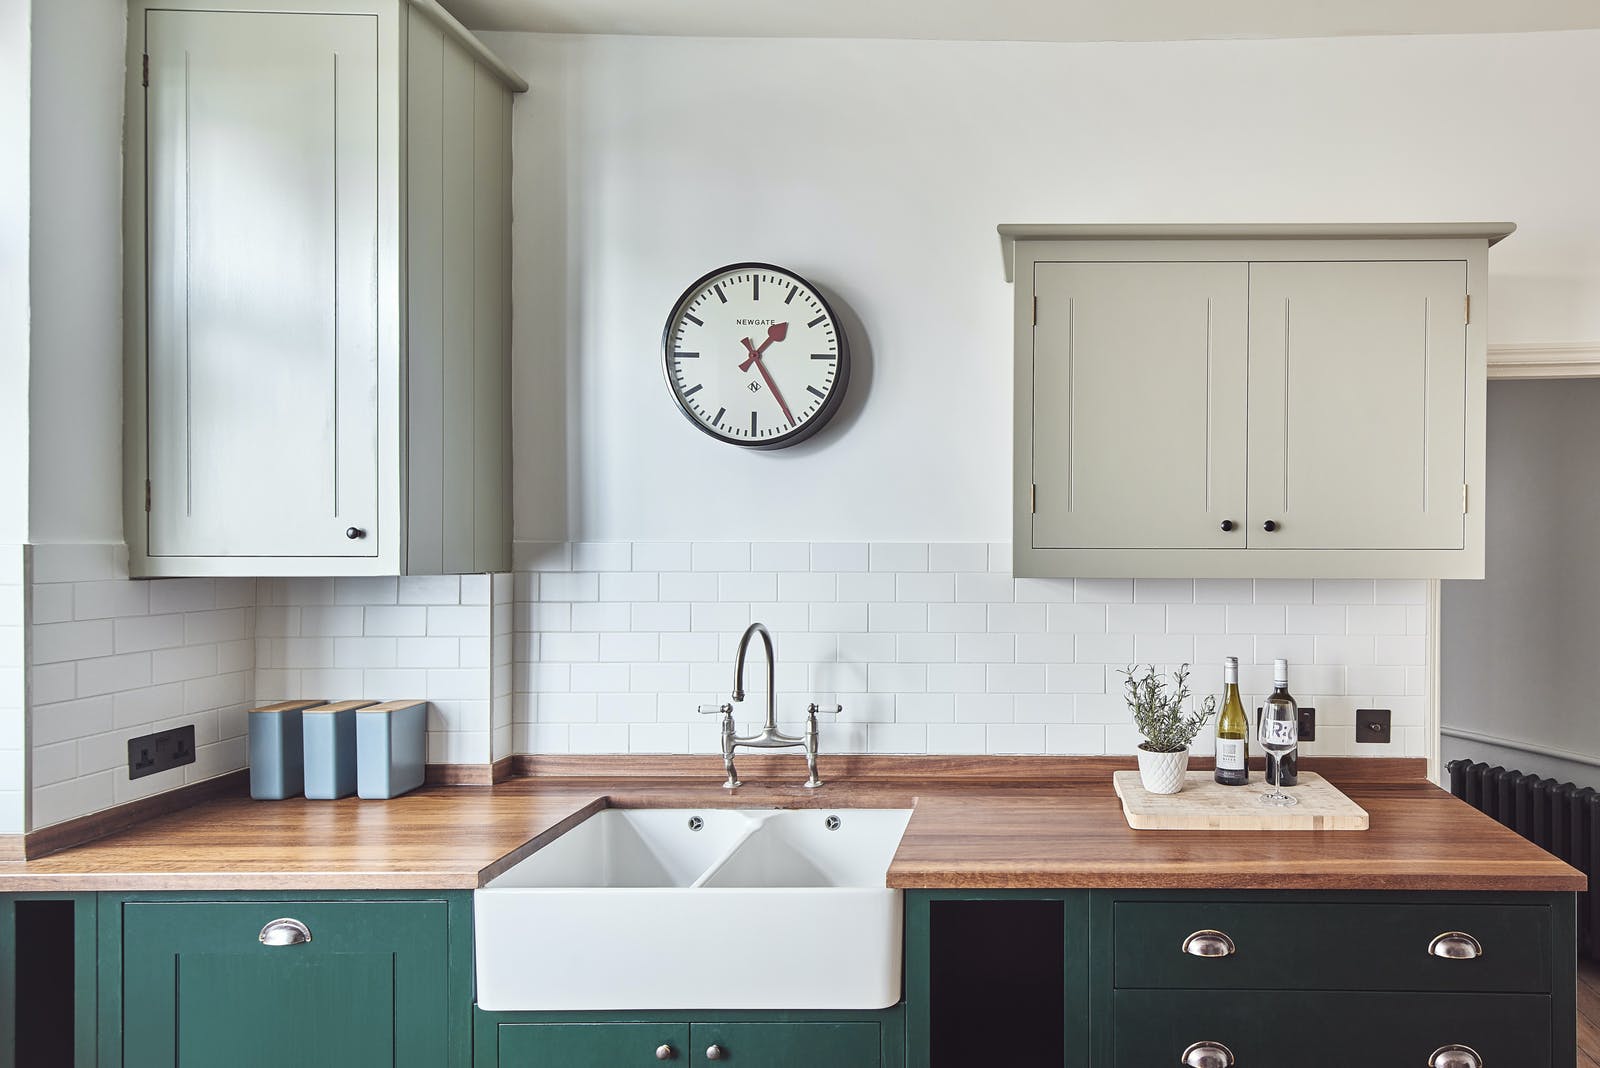
We decided to use a green tone as the main accent colour because the splash-back tiles were white and unobtrusive and we were keeping the walls white also, so the space could take a dark and punchy colour. However the contrasting colour in greige was chosen because we didn't want the kitchen to feel too dark or oppressive by going full force on the dark vibes.
The result offers the perfect combination between light and dark and allows your eye to move around the room catching different colours, which is the idea scenario in interior design. Looking back on the project, the only thing we regret doing is not painting those gorgeous loft style apartment windows & balcony door in a punchy black to make them look like Crittal style windows!
In order to being the process, we sanded down the doors to remove any flaky, old paint and effectively start with a clean slate. We then took off all the handles and popped masking tape strips inside the drawers and cupboards so we could open them still when painting inside (see how to use masking tape). Next up we primed the doors to a primer paint and began painting! (Check out when to use primer paint). Every time we use Lick paint we're never failed to be amazed by the quality and colour - there are some other brands (we won't name names!) whose paint is so watery and it takes maybe 4-5 coats to get the ideal finish, whereas with Lick 1-2 coats (at a push 3) gives you the perfect finish every time.
Over the summer when we under-went this project, Lick weren't doing any eggshell ranges so we used the normal intelligent matt paint with a sealing matt varnish on top to ensure durability. A few months on and no problems encountered!
Read more information on Lick's newly launched eggshell range.
Have a read of our best kitchen paint colours blog to get inspired. Or, if you're working with a smaller space, check out our recommendations for the best paint colours for a small kitchen (yellow kitchen paint, believe it or not, is a winner!).
And if you're new to decorating, learn how to paint kitchen cabinets and cupboards (including laminate).
Photography by: Richard Kiely